I’m in the midst of a terrible, horrible, no good, very bad day week, guys. The kind that makes you wonder why you even keep trying. One thing after another. I’m trying to get past all that so I’m not going into detail.
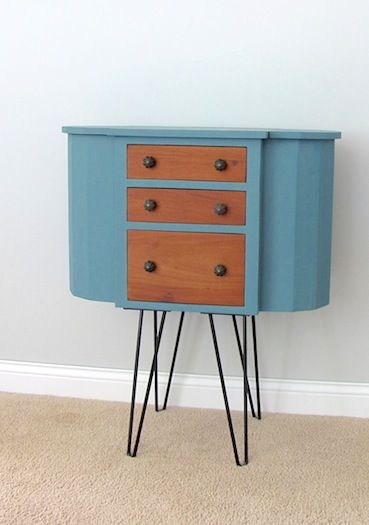
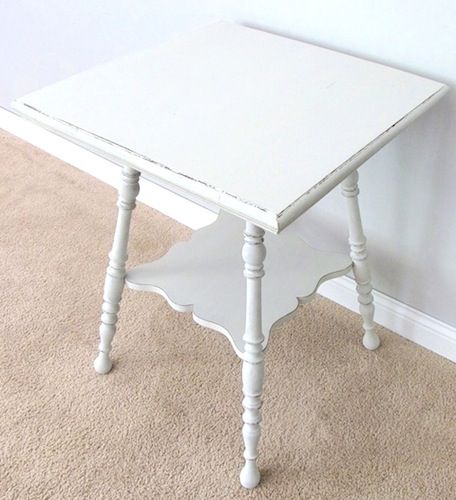
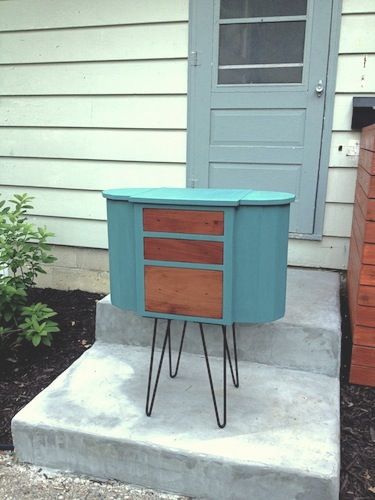
No, instead I’m back to share the two most recent milk painted pieces-the sewing cabinet (which is actually more of a side table than cabinet) and my mom’s former side table. The only pieces I have done a distressing technique on because I haven’t been the biggest fan.
You’re reading the words of a changed woman though.
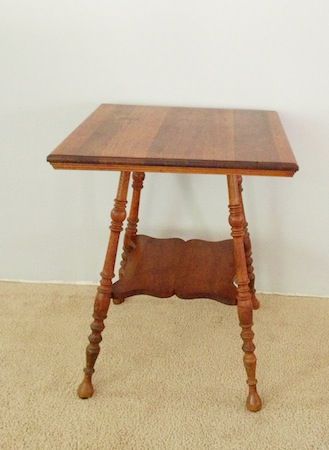
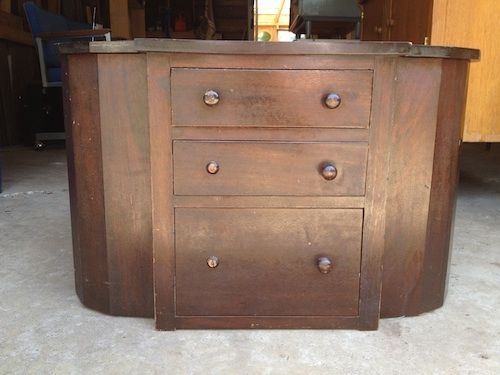
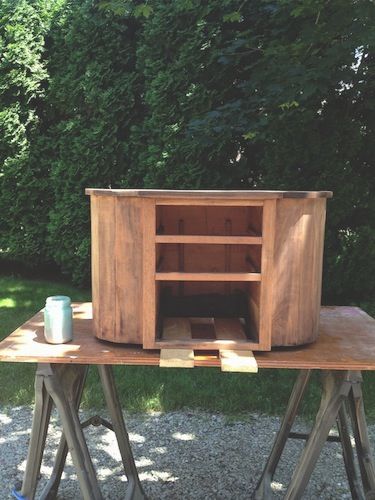
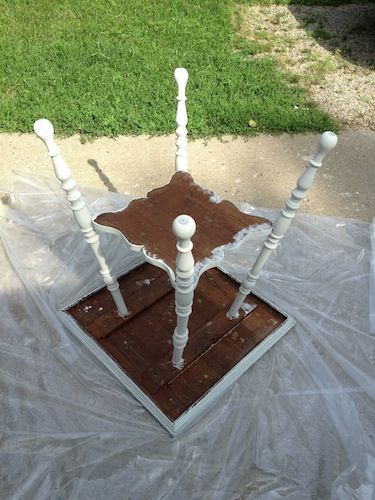
The befores
I will not be distressing every piece but on the right furniture, aging, distressing and chippiness add more character. Plus milk paint kind of begs you to in my opinion.
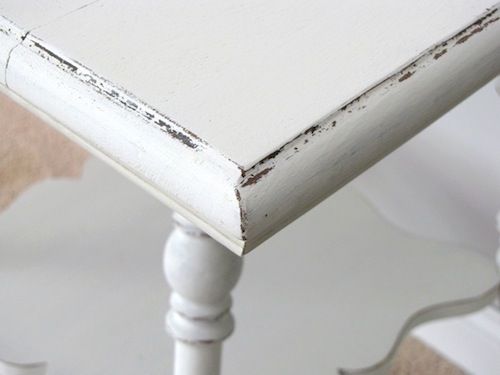
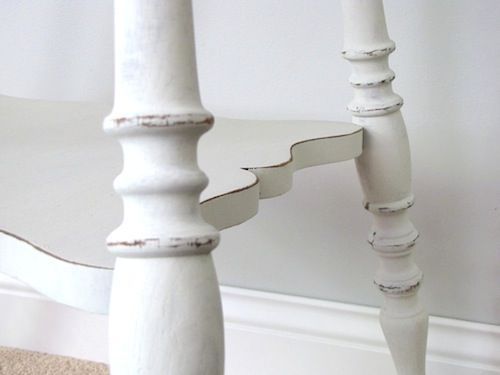
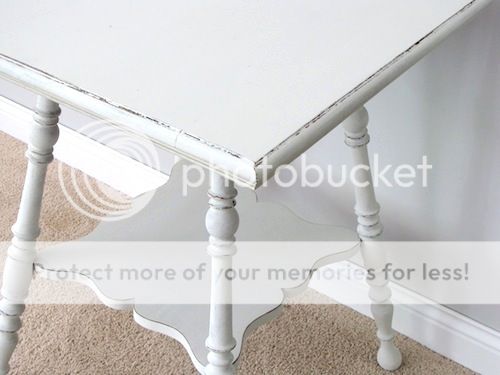
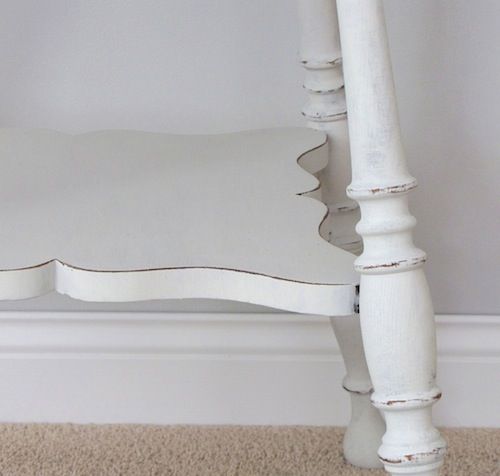
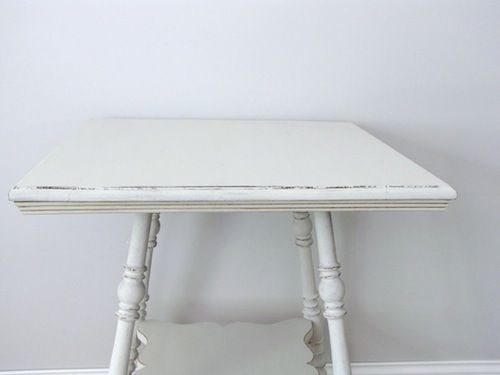
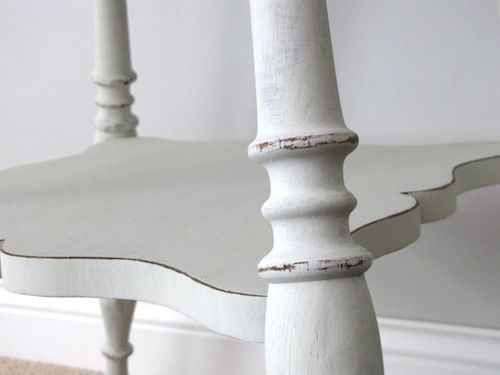
I don’t think I was too shabby at it. Or I was because this is a shabby chic/cottage/rustic look.
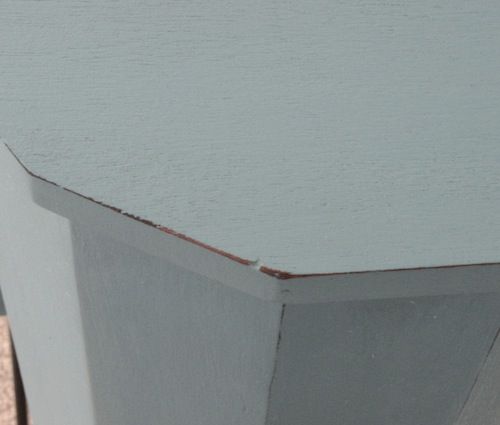
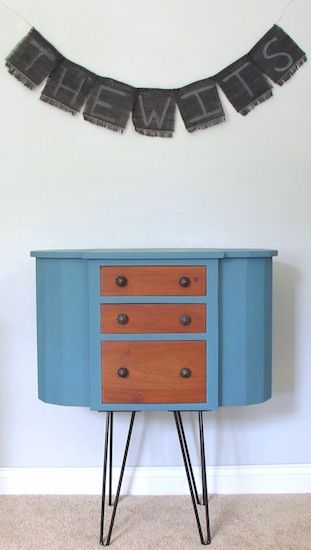
Even though there are hairpin legs on the sewing cabinet. As soon as I saw it last year at that barn sale with broken legs I knew what I wanted to do.
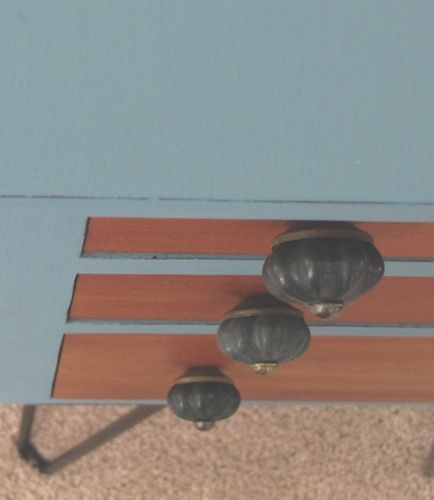
I like mixing styles so it got a bit of a mid-century twist. I didn’t want such a traditional, stuffy look.
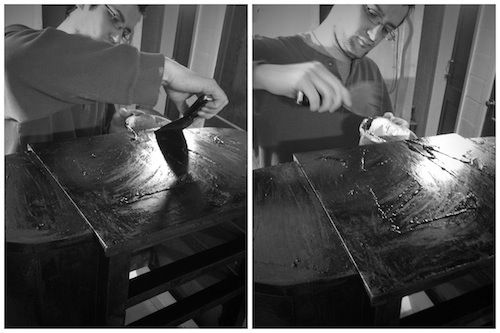
The entire piece is made of walnut and had a very heavy dark reddish stain and a tough, shiny finish (not my favorite to remove) which took some Soy Gel stripping action to get off…or mostly off. Stubborn thing. I also sanded with my orbital sander and some coarse paper. Painting was the fastest and easiest portion of the project. I knew I wanted some iron looking hardware and finally found some smaller scale knobs from Hobby Lobby. It finally all came together.
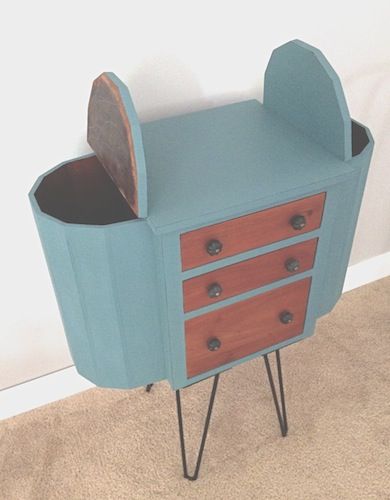
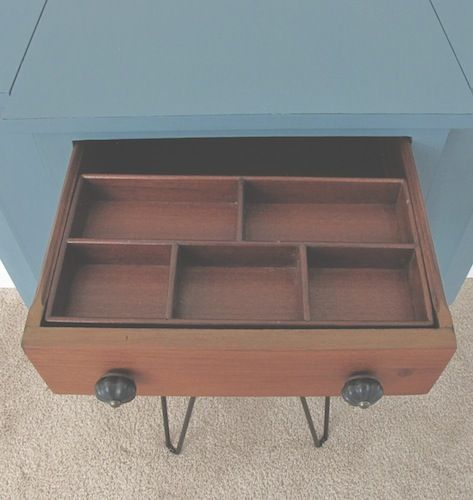
The sides flip up and provide deep storage compartments. I really wanted to find an old umbrella and stage my pics with it but that didn’t work out. The top drawer has a removable compartment for thread or whatever since this doesn’t have to be for sewing.
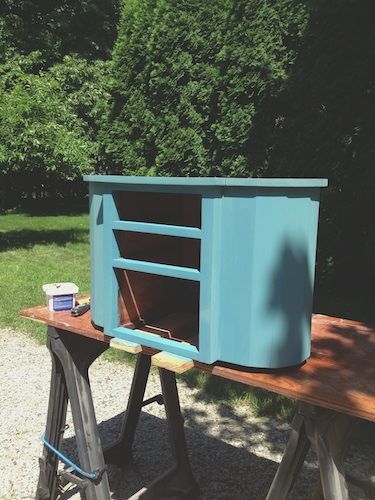
The only part I was unsure of was whether or not to paint the drawer fronts but, in the end I wanted a more rustic feel so they just got a few coats of hemp oil. I must admit I did not intend for it to be this color and while my pics make it look pastel, it’s a rich turquoise. My original aim was sage green to go with the natural drawer fronts. I love what I ended up with though.
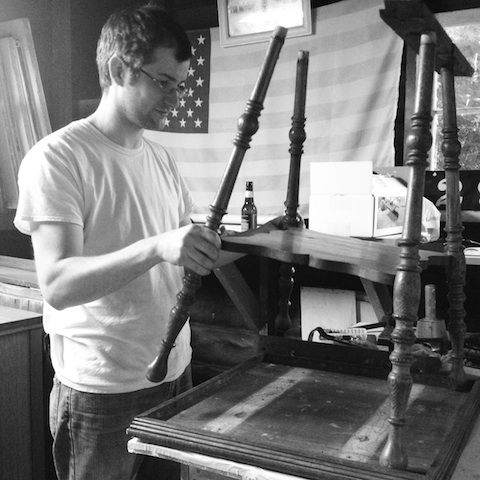
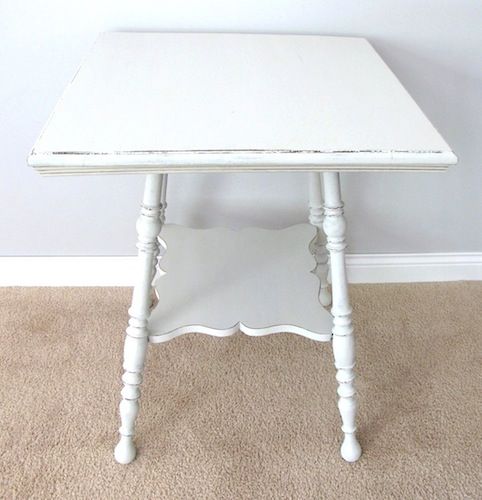
After a few repairs to my mom’s old table and an in-depth sanding session later, it was ready for paint. I tend to do a normal first coat when it comes to milk paint. Using the suggested ratio of powder and water then the second coat is more of a glaze (depending on how the first coat dries) with more water. I end up with an even look this way and again, it depends on your surface and since mine is typically raw wood I don’t have many problems with evenness. There were some great chippy spots that showed up naturally that I adore.
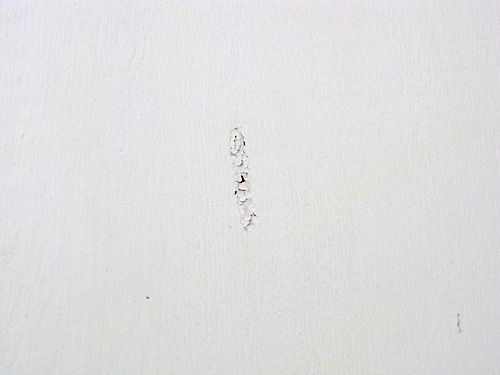
It took a few hours to get the distressing finished with those spindle legs but I am also a newbie when it comes to the technique and didn’t want to get carried away so I often stepped back to check my work.
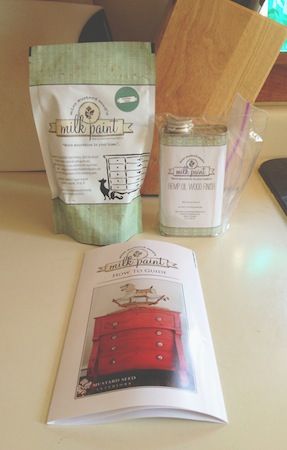
The sewing cabinet was painted using Miss Mustard Seed’s Kitchen Scale milk paint, a rich turquoise/aqua, and the side table is her Grain Sack, a neutral gray/cream/off-white.
I have tried other milk paints but prefer hers after these last two projects. Wonderful stuff. Once you get it mixed (the tricky part since it comes in powder form and you mix it with water), it’s so easy to use and her colors are beautiful. You can mix the powders for a unique shade and since I now have 3 pouches of different milk paint in the fridge (cause that’s where I recommend keeping it) and another pouch on the way, I intend to mix my own colors. Just need more furniture…can you believe we’re out of pieces with all my collecting?
I recommend mixing only what you need although covering your container of leftover paint and using it within a day or two is fine. I think it’s easier just mixing what you need though. We invested in a mixer that attaches to the drill which worked well until it came time to clean up and the clumps wouldn’t come off. Not sure I’ve found the ideal way to mix milk paint yet but I’m working on it.
Milk paint has a mind of its own but provides a great matte finish. There are ways to cope with the varying issues like a bonding agent. I usually just sand my pieces very well to begin with, getting it down to raw wood, which helps the paint soak in and adhere. Want more info about milk paint, get it here from the queen herself, Miss Mustard Seed.
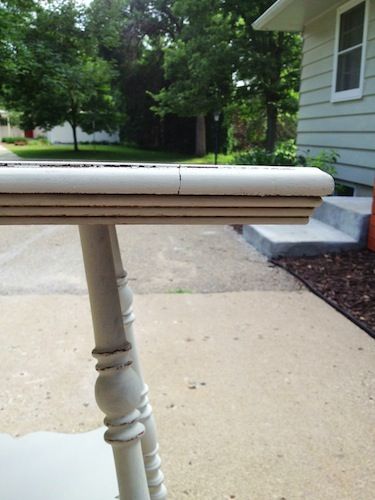
On the side table, I also tried my hand with dark wax to accent the ridges. I mixed the dark wax (Annie Sloan’s wax) with the clear/light wax (Fiddes & Sons) then applied the brownish tone (what results) with my wax brush. I knew to be sure and have cloth nearby for wiping because it will stain your paint which is why you either first apply a clear wax, putting it where you want the dark wax, then the dark goes on top of the clear/light or mix the dark with the light wax and apply. Follow up by wiping the excess with your cloth. There are other options when using wax but that sounded the easiest to me. This tutorial from the Purple Painted Lady helped me out with the dark wax issue.
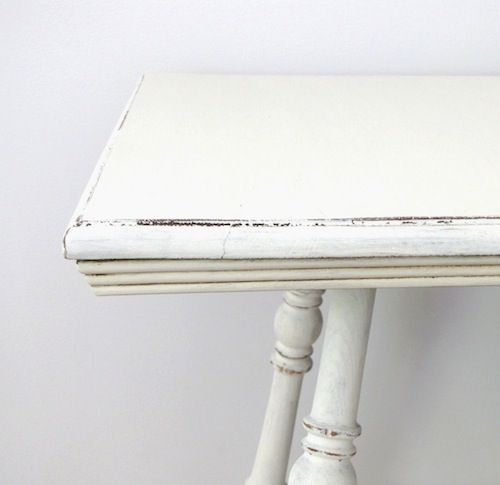
Both tables were rubbed with 120 grit sand paper to distress those areas that would naturally have some wear then they were finished with a few coats of our new favorite finish, hemp oil. It’s natural and you just wipe it on with a cloth. You don’t have to worry about brush strokes. Awesome. The oil just works so well with milk paint which must have a finish coat to protect the paint. It will not cope with liquids until you have put a protective finish (wax, poly, oil, etc.) over it.
What are your thoughts on milk paint? What do you think of these two pieces?
Both are in our etsy shop. I will be back to update you on the campaign dresser and faux campaign dresser later.


10 Responses to Milk Paint, Waxes and Hemp Oil with Two Furniture Reveals