After a bad hair “trim” where I’m now missing several inches and the layers my thick, curly hair needs, a dog bite on our pup Henry yesterday from a known aggressive dog (too bad no one said anything til he chomped on his ear Tyson style) and uncooperative weather, I can still say the weekend was a good one. More yard work, more soreness but grilling, some sun and a feeling like we’re actually getting somewhere outside since almost all of the ivy ground cover stuff is up. I’m not familiar with it but if I had to name it, it would be called the ivy from hell. And I may or may not have met our new neighbor, in the beautiful mid-century house behind us, with my rear in the air, hands on the ground (except the one waving when I turned) and dirt on my face.
Talk about aggressive. This stuff climbs on everything and the attempts to contain it were futile by the previous owner (plus we’re finding out outdoor maintenance wasn’t a priority with them). You take one look and think, no biggie and then numerous hours (6 or so for one tree surrounded by the ivy), blood, sweat and tears later and you know this is enemy numero uno up in this joint. But it’s gone and it feels so good. Almost gone. We still have to tackle it on the side of the garage.

We meant to have more things to show you that we did for the new studio but only one is in place (spray paint dries better when the temps are warmer and the weather person fibbed about Saturday).
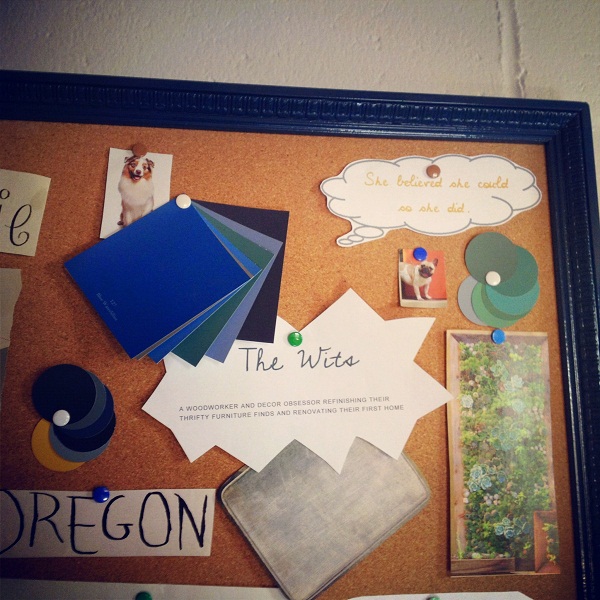
I’ll show you what we did. I’m fairly proud. While roaming around our local Menards for supplies, I saw a corkboard/pinboard and recalled how I wanted one in the studio. Not just my virtual pinboard on Pinterest which is a life changer.

I noticed how boring the board was and thought gee, and I know I’m not the first, what if we put some different trim around this puppy and added some color. I found this…
One piece wouldn’t suffice and that’s what was in the bin-I’m picky and didn’t want to choose another. The heart wants what the heart wants. I played the role of annoying DIY blogger and asked the guy if there was more and there was…on the cart, in the middle of the pile, requiring him to literally hammer it out until we could grab it. We only needed one more piece but one end was damaged enough that we couldn’t use it so 3 it was. And I am not above pointing it out to get a reduced price but somehow my attention was elsewhere and the chance slipped by.


Greg removed the old frame, cut the trim, pre-drilled then put the screws in to make a new frame, filled the holes with wood filler, then we sprayed a few coats of Rust-oelum Painter’s Touch Ultra Cover 2X in teal which I can’t find on their site but have seen in several stores. Love the stuff. I grabbed the meadow green, this teal and a few other shades. It’s great stuff.

Then we attached the dry frame to the corkboard, by gluing and screwing, and began attaching the bracket to the back then the other portion to the brick wall. Easy project.
And by the way, the corkboard is just a thin sheet of cork on cardboard and this size cost $10. We have a ton of cardboard around here and a roll of cork is inexpensive . Next time we’ll make it ourselves cheaper.
The entire cost, and this is probably not that impressive since we should have made the cork portion on our own, was less than $40 with the spray paint (on sale for about $3 and enough to do another project from Rustoleum in a teal with a name I can’t recall but reminds me of a peacock which I totally love), the trim $7/piece (and we have some left to use on another project-picture frame), corkboard, we already had the glue and screws, and add the bracket to hold it on the wall.

I like my custom board which rests by my desk with all kinds of things that make me happy.


Pingback: Neglect and Spicy Chicken with Rhubarb-Cucumber Salsa | The Dabble