Yo, word to your mother. Do you ever just randomly have Vanilla Ice in your head? I don’t think I’m alone.
As promised, I’m back (Ice is back too…did you know he renovates houses?) with more details of the newest dresser. Sure we had it for a long time and even shoved it aside for client orders and a few of our own designs. It moved from one garage to another when we bought the house. Sure, we finished it weeks ago and it’s just been sitting around waiting for a photoshoot (even though the pics aren’t up to my standard still). And sure this is the one I told you about having problems with in terms of changing my mind in my craigslist rant. And finally sure, it had a mirror so I referred to it as a vanity maybe confusing some readers.
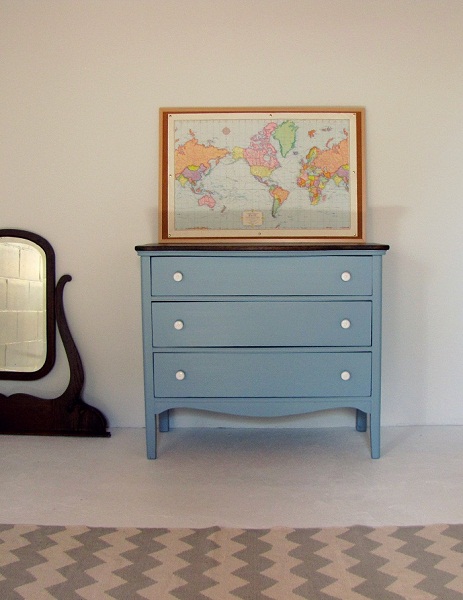
But it no longer has a mirror and I have not changed my mind in the last few weeks on this cute piece. Here she is…
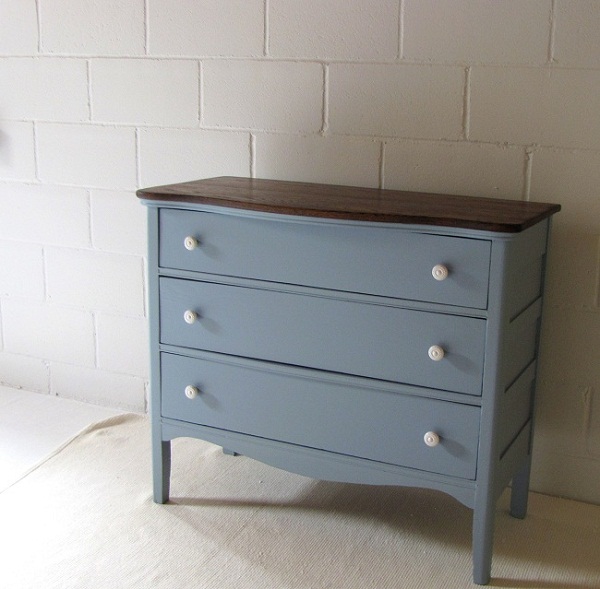
and again…
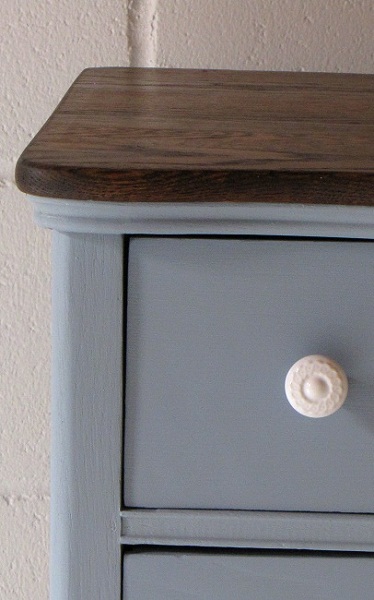
and one more…

Neat. She’s in our etsy shop now. The hardware?
My description being an antique blue dresser with dark, Jacobean stained top and decorative, white porcelain knobs.
The original intent was to make a piece like this but with a lesser quality wood and thus a more rustic vibe than elegant. Have to keep wood/grain quality in mind. So we proceeded. And because I found cheap “oops” paint, went yet again with a blue.

To keep costs down, I wanted to re-use the keyhole covers but spray paint them an antique white. After a long wait, I put it on and hated it. A true, deep, gag-inducing hatred. So the keyholes had to go…which if you heard a cry at the beginning of March, it was probably me because at that point I had already changed my mind and painted the drawer fronts after staining and not liking the finish and all that sanding and waiting for paint to dry after several coats. Ridding of the keyholes means filling them with wood filler or putty and starting all over again on each drawer front. Something we just normally do to the old hardware holes in case the new hardware looks better in a different position. I did try to find or replace the keyhole covers if you’re thinking I’m insane and should have done that but the options out there are cheap or way expensive, nothing in-between, and still not the look I was going for.
I used knobs I’ve been storing for myself. Sacrifice. The wood casters are in poor shape so we decided to keep those off even though I love casters. And I might be keeping them in my goodies drawer in the new studio for selfish reasons.
I worked diligently on the two-toned task to have it come out like this…
Nicht Gut (not good). Notice the run in the second drawer? Well, it’s not a stain run at all but just how the grain is on that drawer. No amount of work could fix that booger. So I started again, sanding and putting several coats of paint on and much much later, it was done. I enjoy the dark stain with the blue and the paneled sides.
Dur, the before, Annie. Here she was in her broken glory. (She also had major surgery to properly work again as a piece of functioning furniture.)
Cute but could be better. I’m keeping the mirror in my studio even though it’s about to bust out. It’s too cool. And it could be attached again with some work if anyone believes they MUST have this dresser with the mirror.
Fin.


2 Responses to Two-Tone Dresser Before and After