Sorry to leave you hanging on the kitchen progress for a few weeks. I honestly was more focused on moving past it-being one of the last big projects to tackle-to be a decent blogger. I planned to get out my big girl camera and take some decent shots, then I said nah and took my iphone out. To read more about the kitchen renovation (and see the “befores”), check out this, this and this post. Those include our opinion and experience using Ikea products. (This post makes the 4th about that topic.)
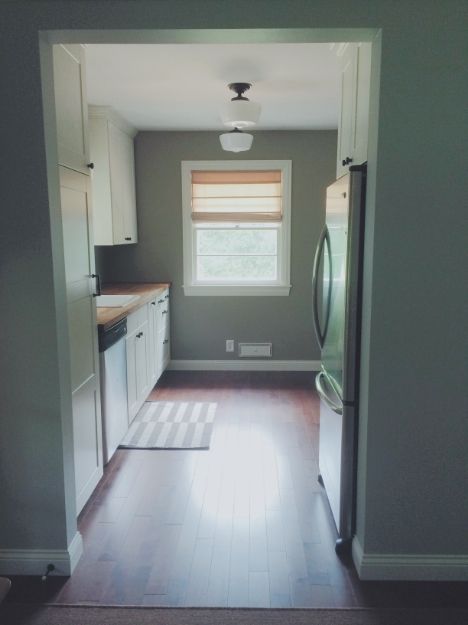
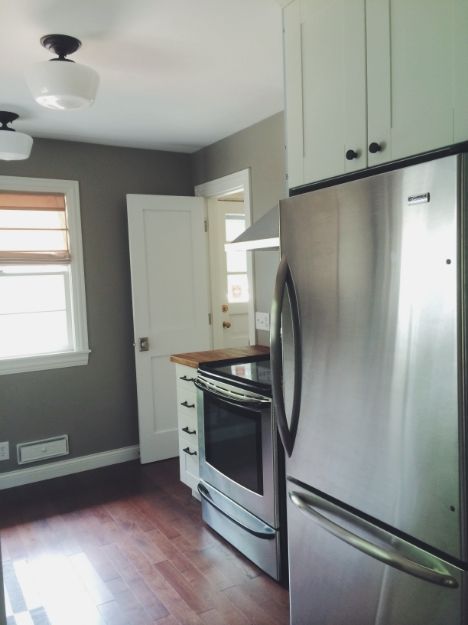
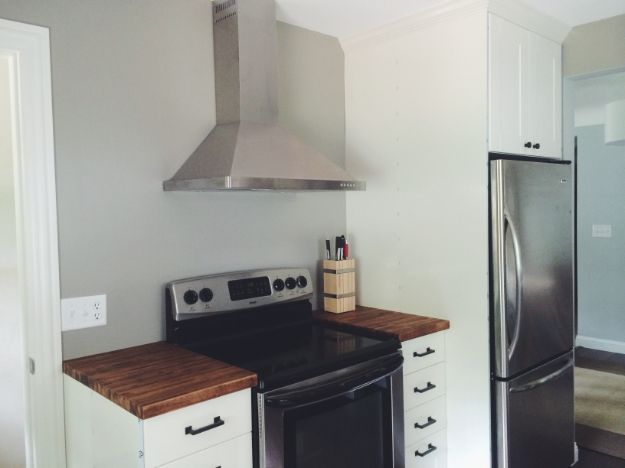
It is an ikea kitchen with custom features. The total for the kitchen reno was under $4,500. 99% finished-a few cover panels (we have to cut those at our friend’s house and that has not happened yet) and we did not get enough toe kick from Ikea to finish the stove side which we plan to get soon. Pay no attention to the protective film we still have on the cabinets. That is not coming off until we go to put the house on the market Dana from House*Tweaking featured this kitchen on her site!
To finish the whole “Ikea experience” talk…putting the cabinets in was fairly simple and went quicker than expected. We tackled one side one weekend and the other on another.
Be prepared is the best advise I can think to give. We had the cabinets together before installation, the measurements and tools were nearby, then we had the energy and expectations that some biffs will come along the way. None really.
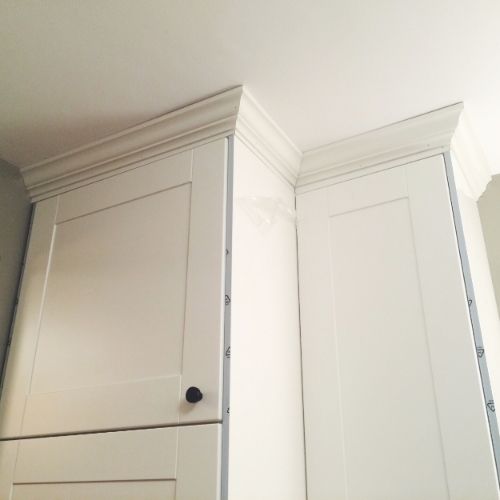
Since we wanted to get the cabinets as close to the ceiling as we could and add molding, we had to make a custom base for the pantry cabinet to somewhat match where the base cabinets sat. The refrigerator is not counter-depth so it took some work to get the upper cabinet in (custom framing) and we simply put Ikea’s large panel on the side-cutting only a little off. Assembling the drawers, catches and dampers wasn’t bad at all. (Ahem be sure to have them facing the correct way.)
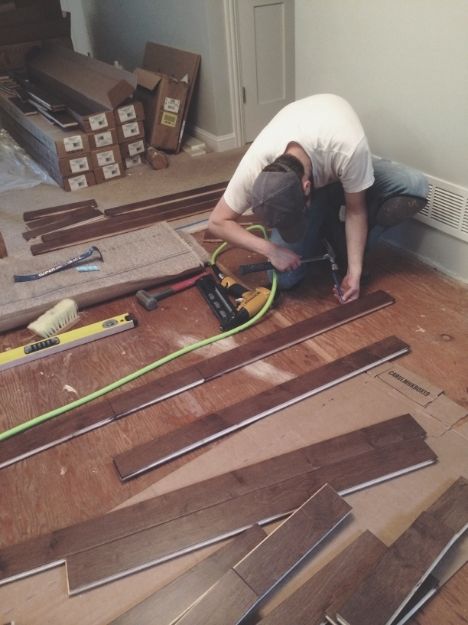
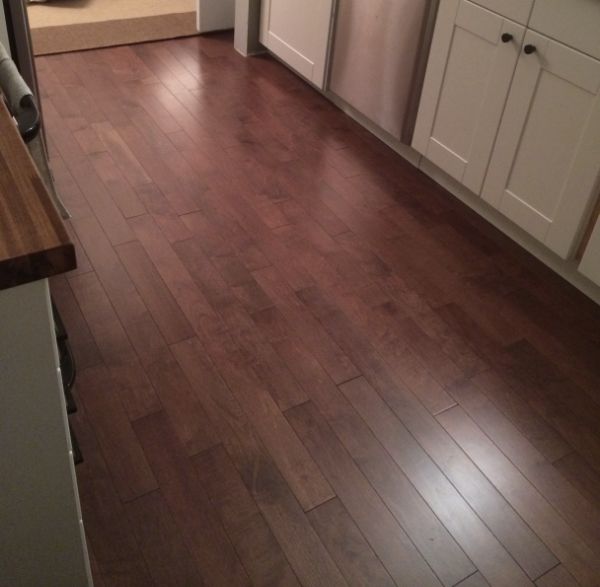
The flooring was a different story. That came from a discount seller I found online and while all that was great and dandy, installation was sometimes awful. Moreso the husband/wife + home improvement factor where one of us (me) is pickier about some things. But, the solid 3 1/4″ coffee maple hardwood is beautiful. Worth it.
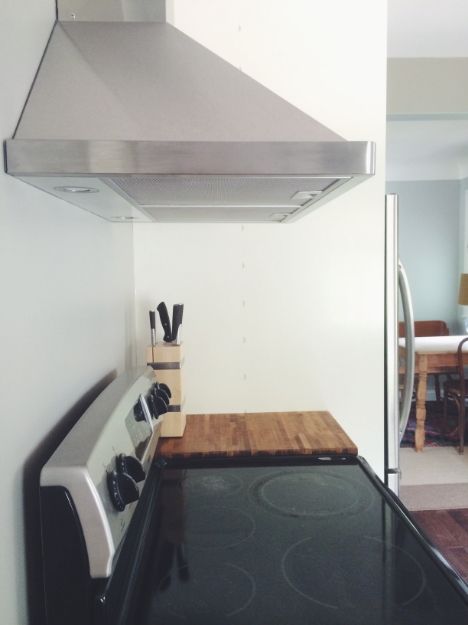
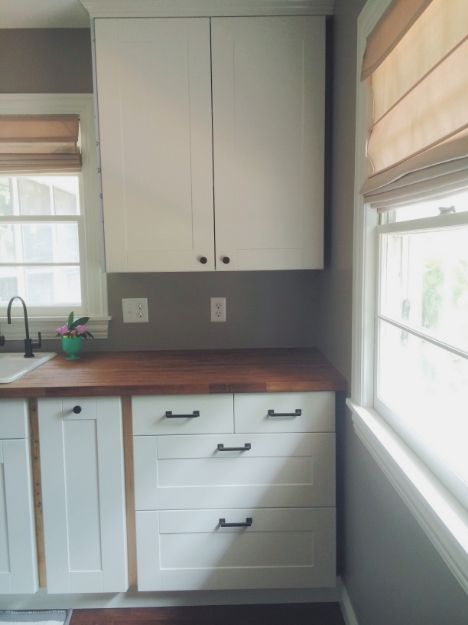
These pics are misleading because we have 2 energetic pups who ruin pretty much everything in the house they can get to which is why I normally have a dozen rugs on the floor and other precautions in place to help. The big rug is from Ikea, some are Target clearance specials and some were just by the check out at Menards to protect the new hardwood maple flooring.
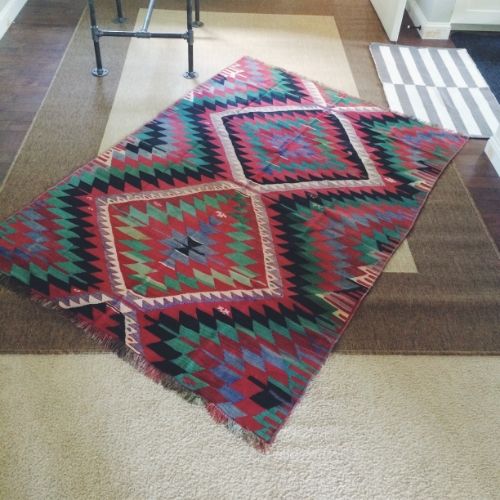

I wanted a little something for myself since I will not be staging the place-we’re just trying to get out of here, folks-so I got a kilim rug to bring in some color. Found that baby on ebay. Well, I found it on etsy then found the same seller on ebay who marked it a lower price once I started watching it and I got free shipping which was not offered on etsy. Anywho, I love it. It’s one of the few things I get. Besides, staging is the next phase of life for me.
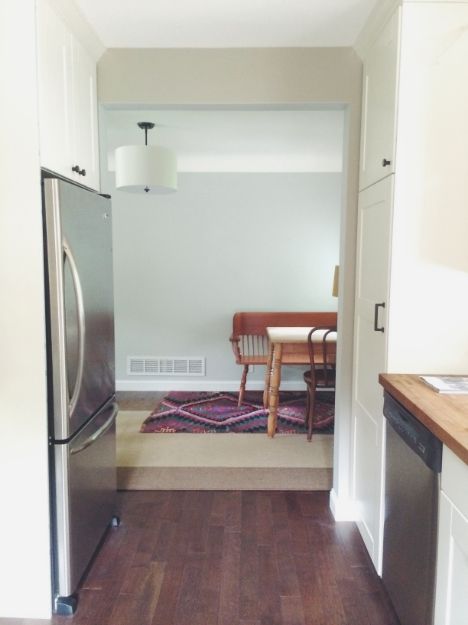
You can’t see the ugly rugs in these pics, but know that they are there on a daily basis…along with a large, old microwave and various other things typically on the counter in the kitchen. I was wise enough to take those things out of the pics.
What do you think of the kitchen?
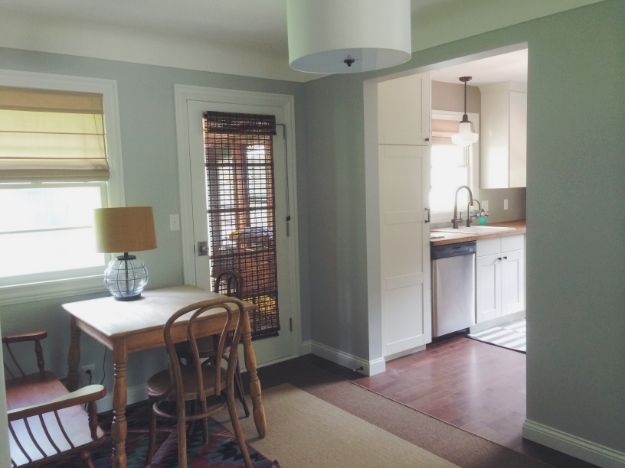
The paint is Rockport gray from Benjamin Moore. The trim was color matched using Benjamin Moore’s system at our local hardware store. The butcher block is from here, a builder outlet store (if you’re in the Minneapolis area). Of course, Ikea cabinets, molding and other trim from Menards, lights from Home Depot and Lowes…if anything tickles your fancy send me a comment and I’ll get back to you with the details. Hardware, flooring, sink, faucets, etc..
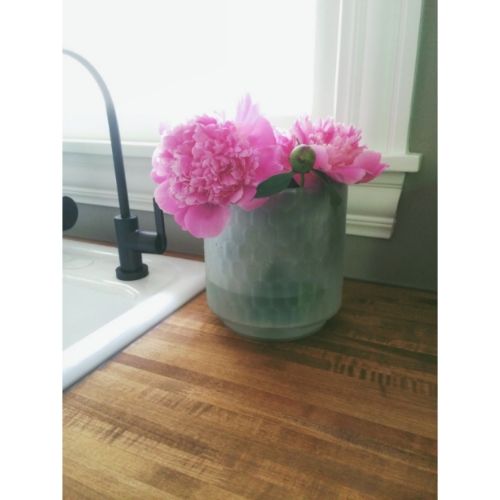
I love the kitchen. The flow, storage, look, everything is so much better. On to the basement!


Pingback: New (Ikea) Kitchen | The Dabble