I thought I’d show you around our place. Well, some of the photos are from some time ago, but not much has changed. The rooms have a new shade of paint, new doors, new trim, and new lighting. Both bathrooms, the kitchen, outside and basement were/are a bigger task than just that, but also include all of those new fixings as well.
We’re now working on the 3 rooms and a few closets in the basement for the final lap of this race. Having very little to put towards it has made some of the decisions for us. We’re going to lay the groundwork, but much like the landscape, the next owners will have to put some work into it.
Throughout these 2 1/2 years we’ve lived in often ridiculous circumstances with a lot of adjusting and “making do.” We’ve learned to just roll with it over our 10+ years together, so it wasn’t too far of a stretch for us. Keep in mind I bring you these shots while we’re only a few months away from listing this southern Minnesota house and (hopefully soon after) finally moving to Seattle. We have a hodpodge of belongings and are preparing for house guests. Annie’s parents and sis are coming to help out and see the place snazzed up. Things are a bit awkward and un-staged.
It dawned on me that I haven’t really shown the multitude of updates and renovations we’ve done to the place in one post and our page dedicated to the topic has not been updated in some time (working on it). I wanted to make this one photo-centric so here are the befores and afters.
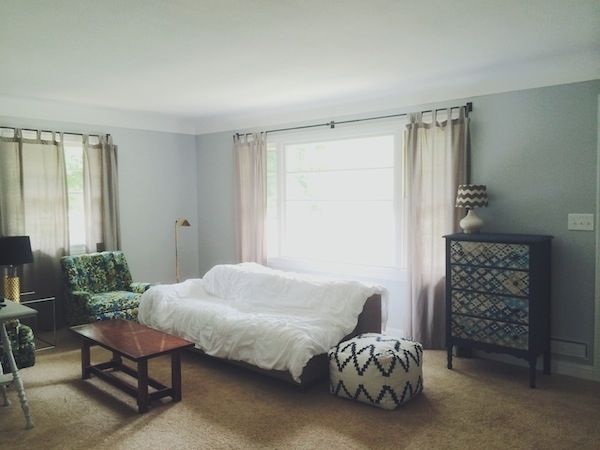
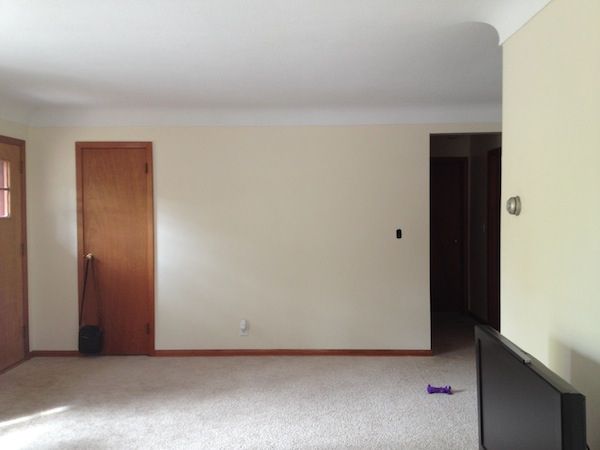
Living room before

Excuse the blur
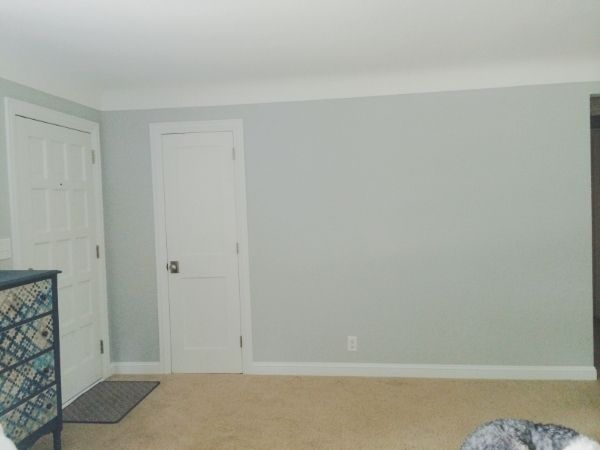
After in Sherwin Williams Passive gray and Benjamin Moore Decorator’s white on the trim
I said it was a hodgepodge of belongings…
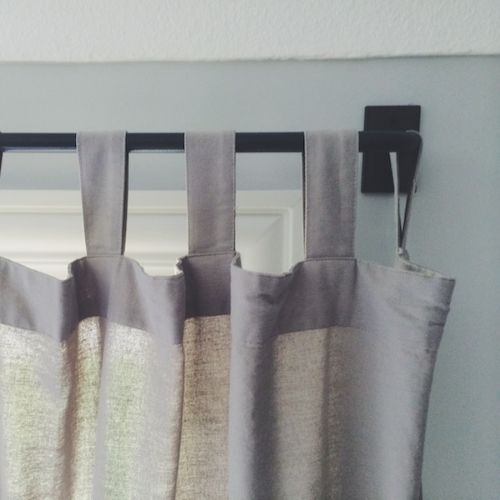
New Pottery Barn rods and French gray curtains in the living room
Before
There’s always a dog toy in the photos around here
After with solid doors from a builder’s outlet store (8 for about $300) and front door free on craigslist (with a little work done to it)
Or a dog
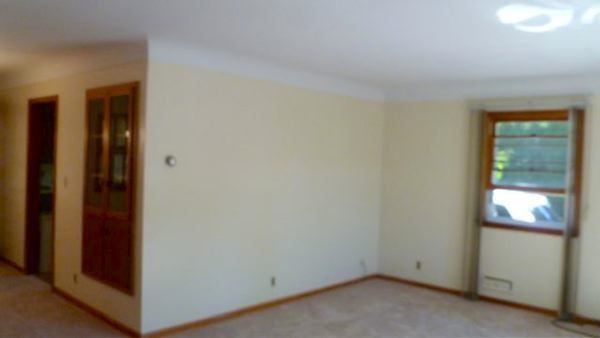
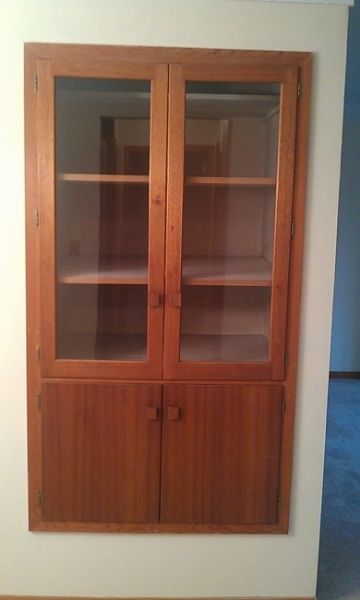
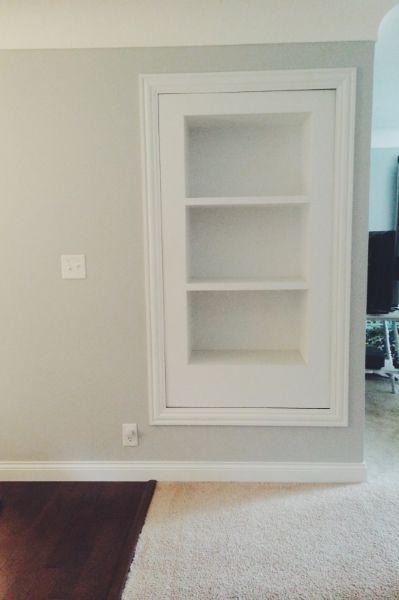
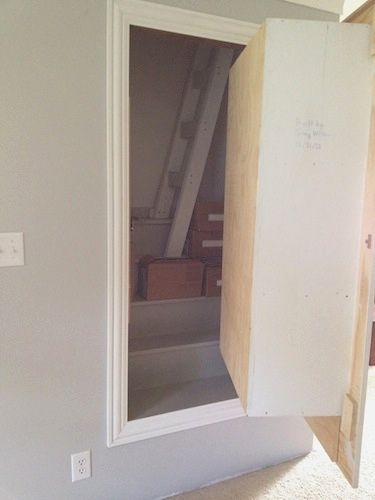
Hutch before (between the living and dining room)
After with help from family, heavy duty hinge and all
Now secret attic entrance/bookcase
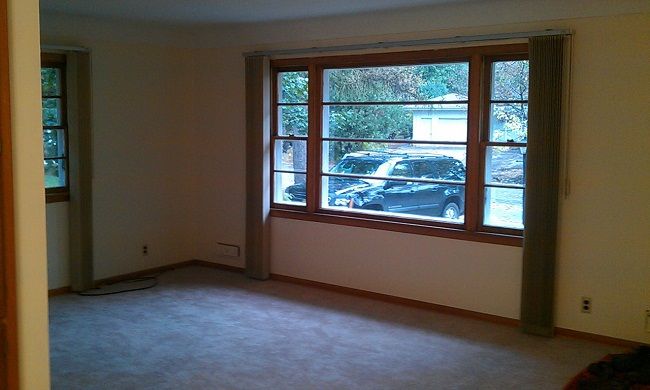
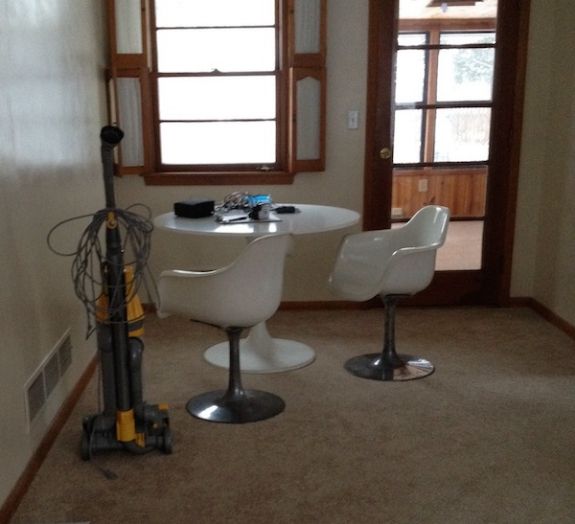
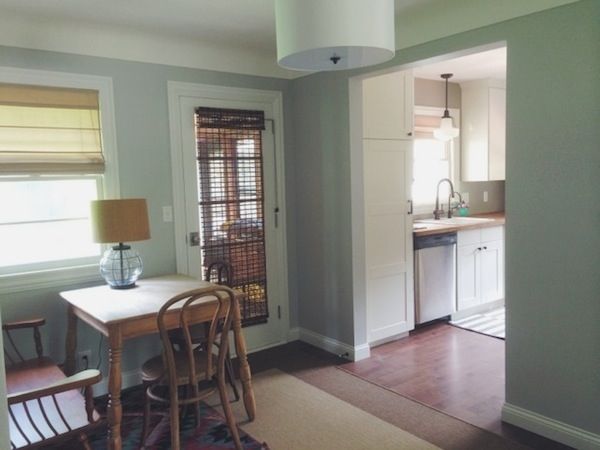
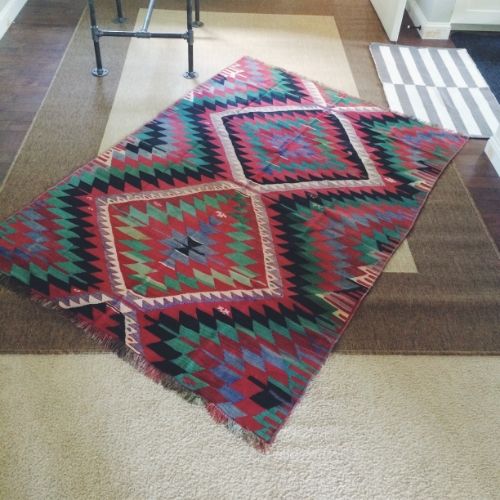
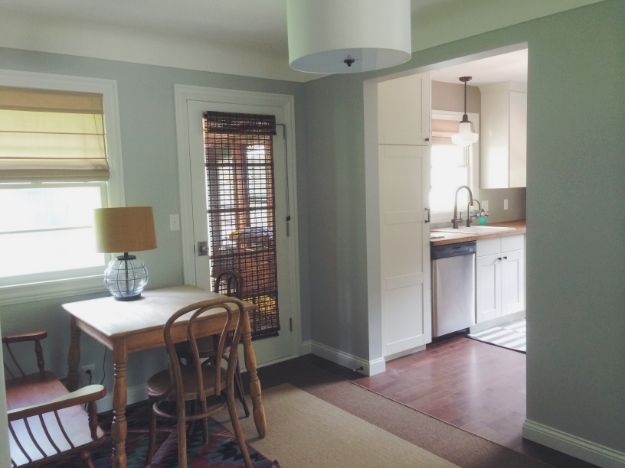
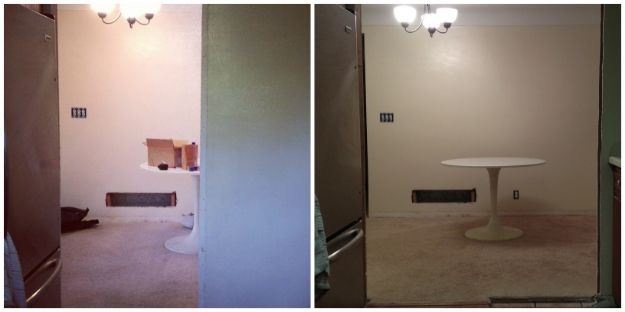
Dining room before
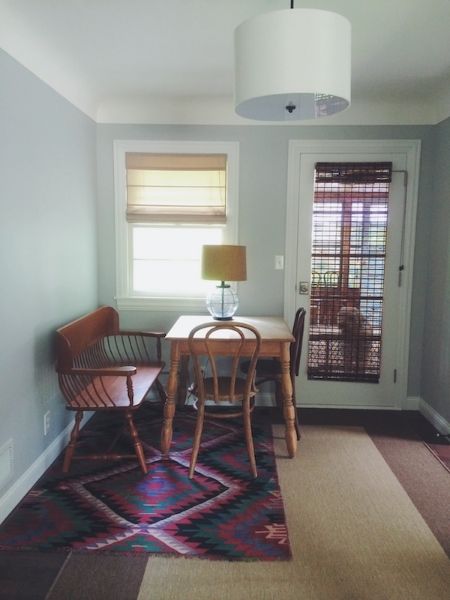
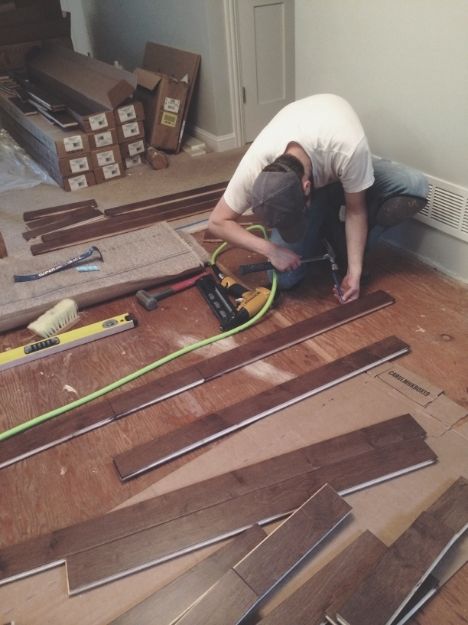
After with solid hardwood maple flooring (rugs covering that beauty)
Work in progress
Door blind and pendant light from Overstock.com, table/chairs/bench from craigslist, rug from Ikea, kilim rug from ebay and table light from Target clearance
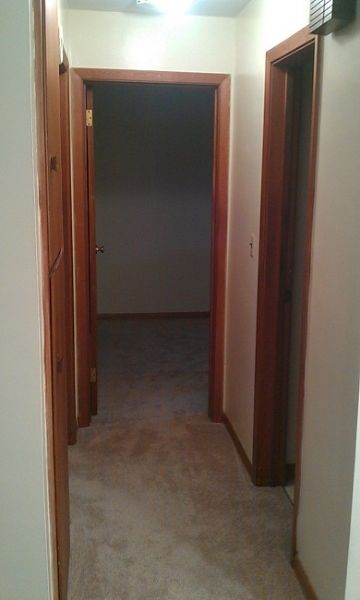
Hallway before
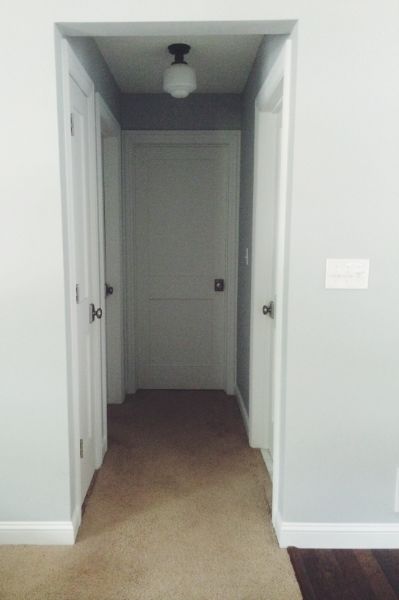
After (most inside of closets painted in Benjamin Moore paper white paint which is between light gray and white)
Master bedroom before
After in Benjamin Moore gray owl
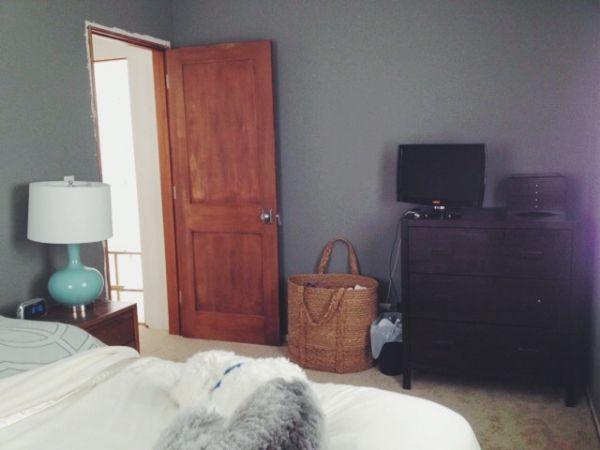
Set up for guests (yes, that is a new-to-us bed and dresser from craigslist)-blinds from Lowes-comforter from Target clearance years ago
Schlage satin nickel doorknobs in andover and addison with contemporary nickel pulls on the closet
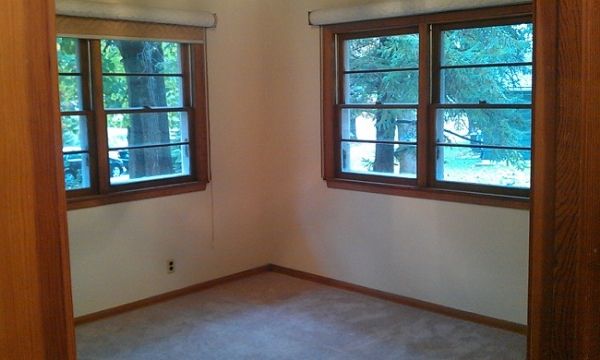
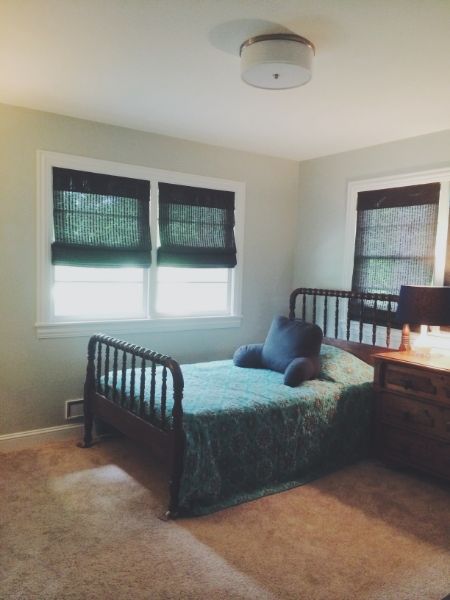
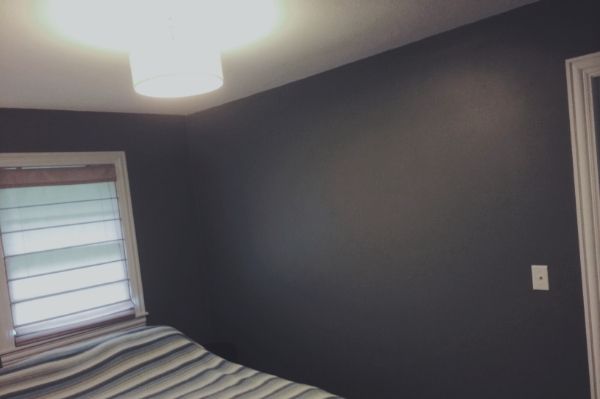
Second bedroom before
After in Benjamin Moore Chelsea gray
Before trim and the door was painted
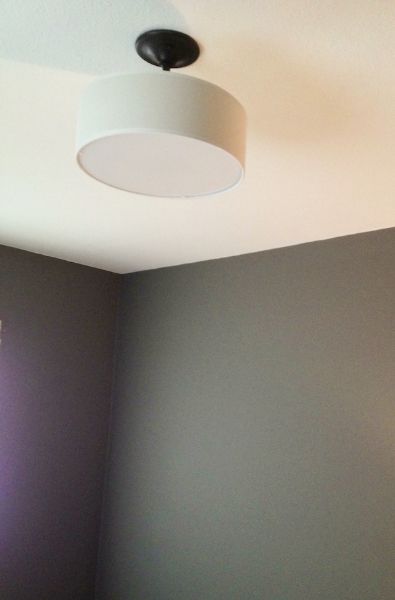
Our lighting picks
This is one hard room to capture with our queen bed in it for the time being-notice no closet (put that space in the bathroom)
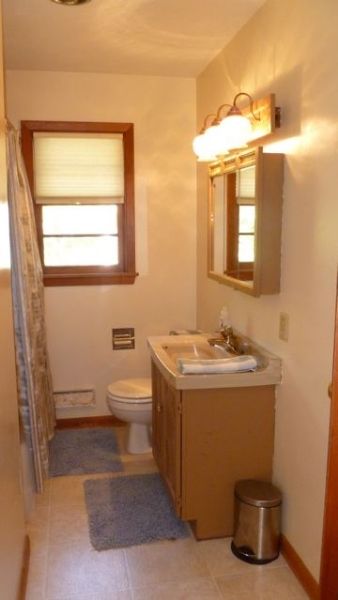
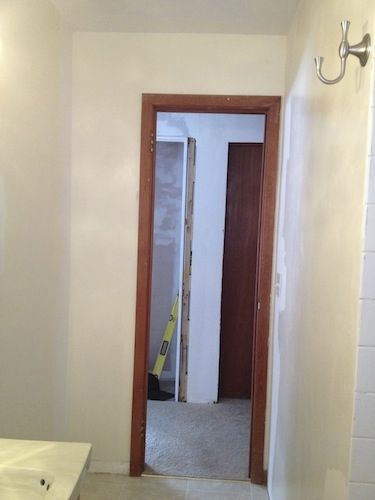
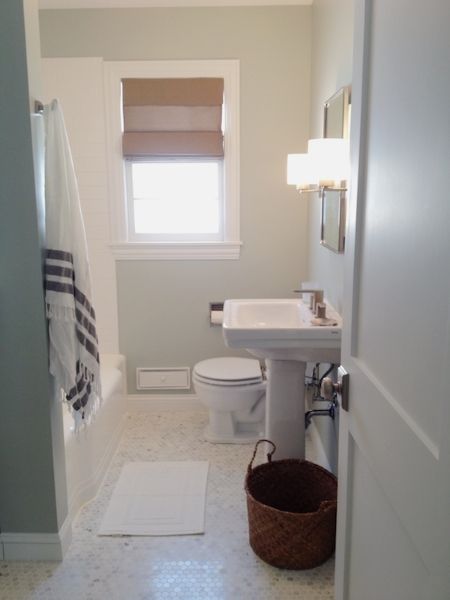
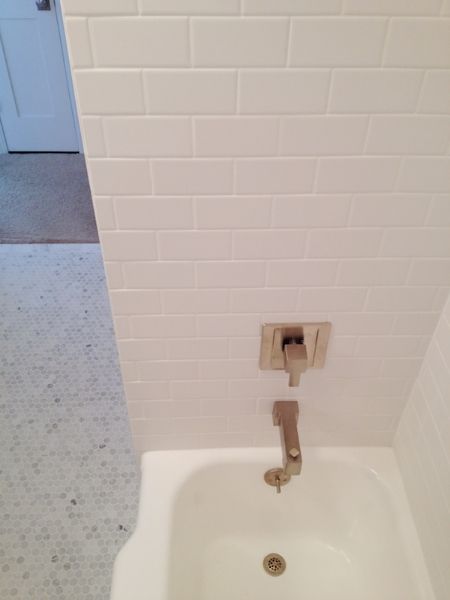
Main bathroom before
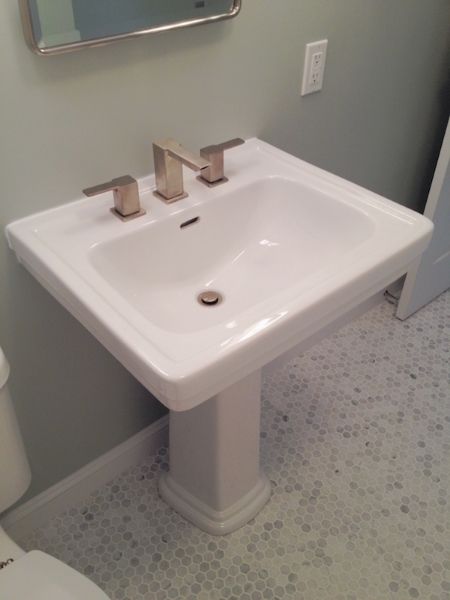
After with matte subway tile, hexagon marble floor tile, paint is Benjamin Moore gray wisp, and the sources are here (picked these lights instead)
We opened the door from 24″ to 30″
DIY refinished tub
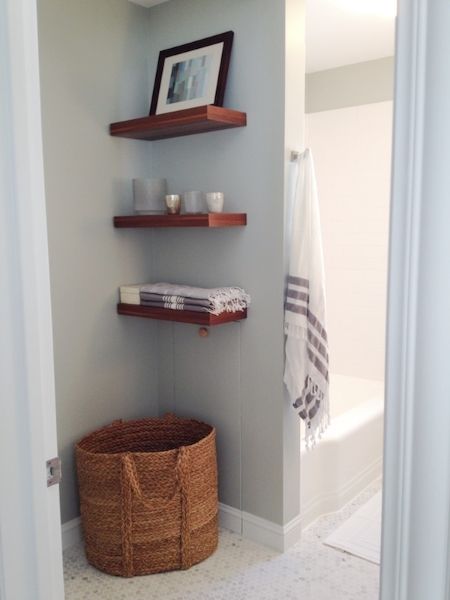
Added a closet for a stackable washer/dryer and storage-shelves from Target-basket from HomeGoods-Turkish towels from here-rug from Restoration Hardware (my sis made the artwork)
This bathroom finished for about $1600
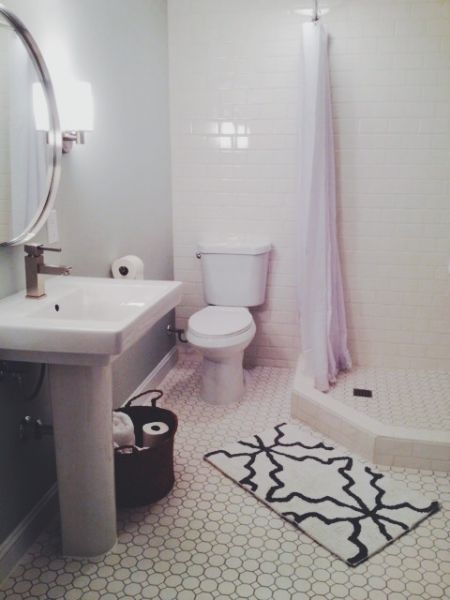
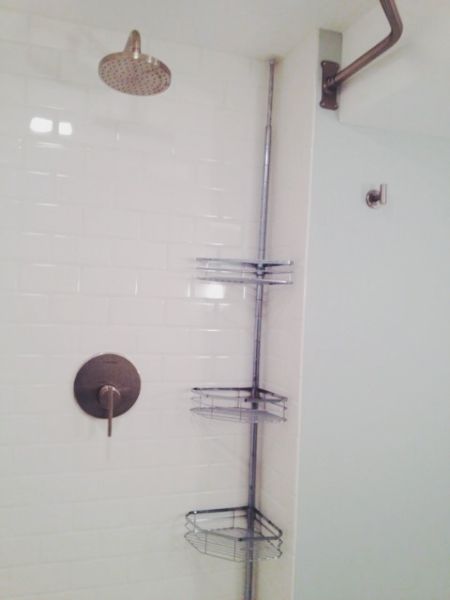
Basement bathroom before
After with glossy white subway tile, mosaic floor tile from Lowes, shower rod from here – Benjamin Moore gray owl (again but looks a different shade in this room)
Sources here (rug from West Elm and basket from HomeGoods)
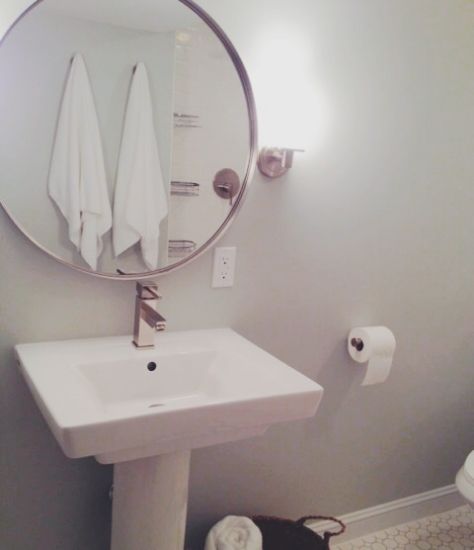
Ikea mirror-Target towels-sink and faucet from Wayfair
Shower system from Amazon-shower caddy from Bed, Bath & Beyond
Basement bathroom was finished for about $1500
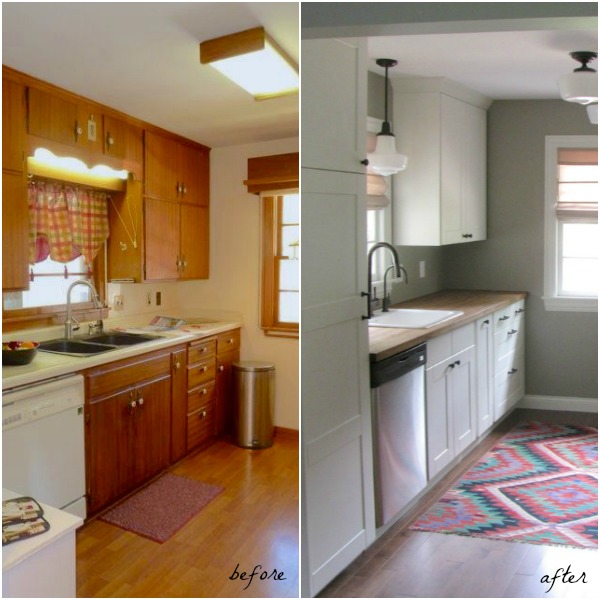
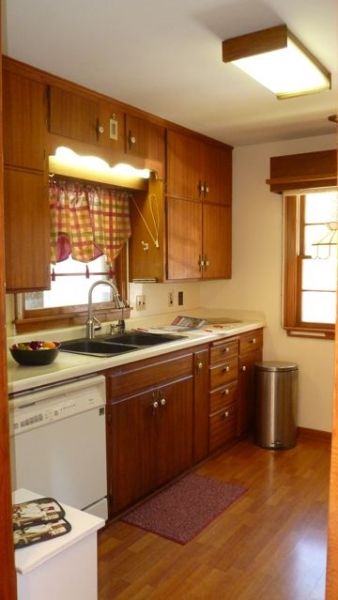
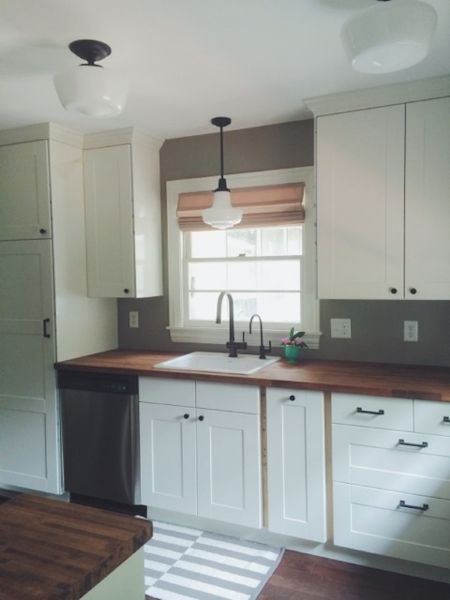
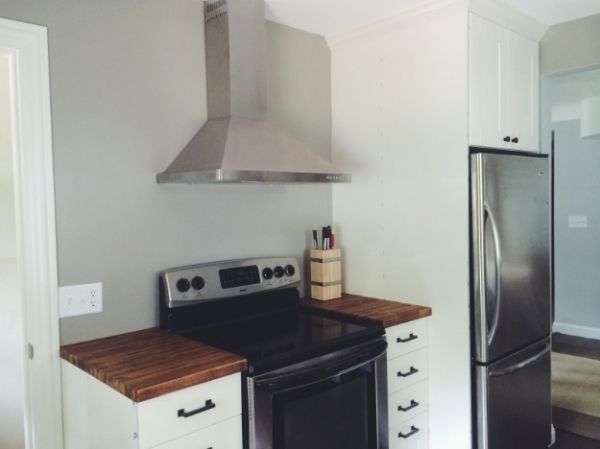
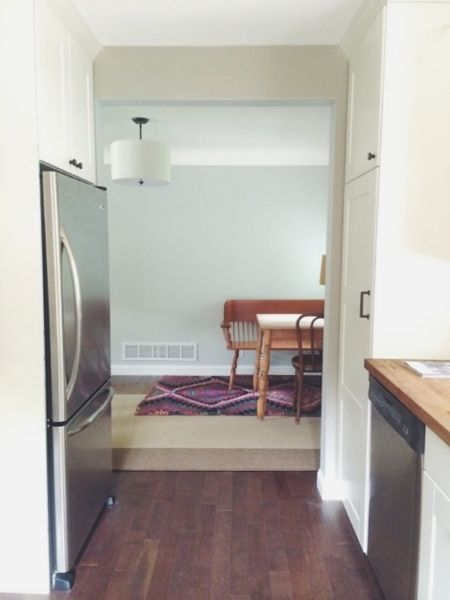
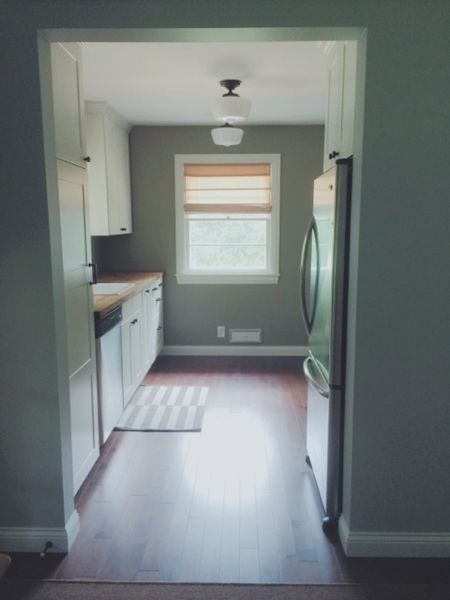
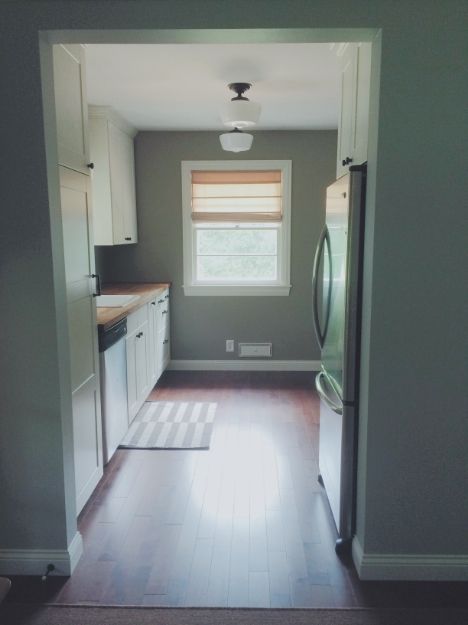
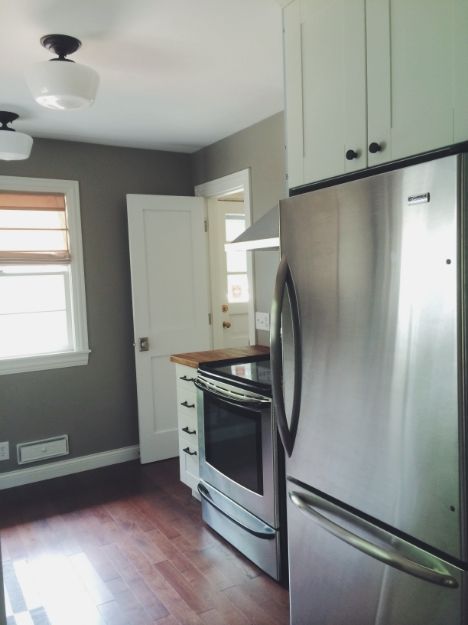
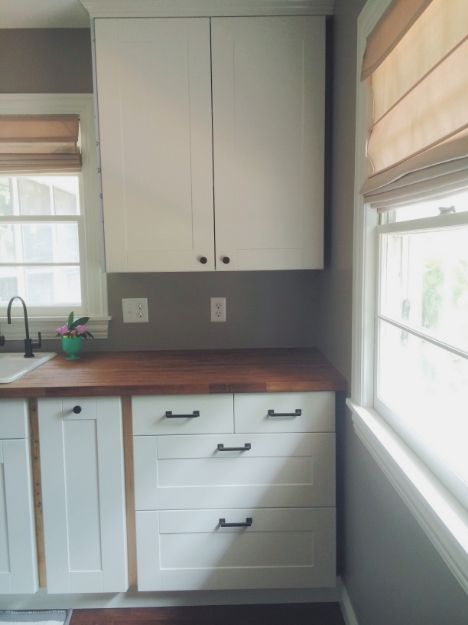
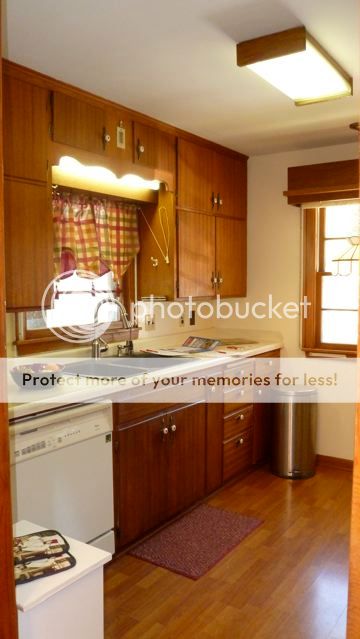
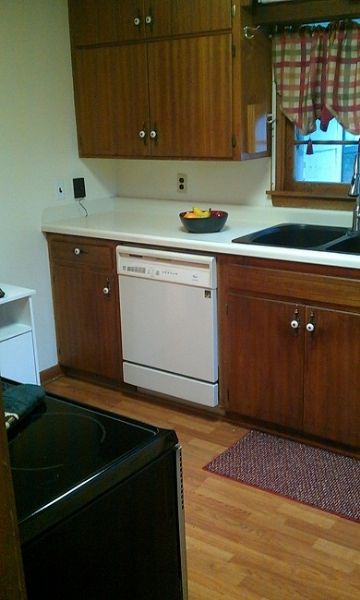
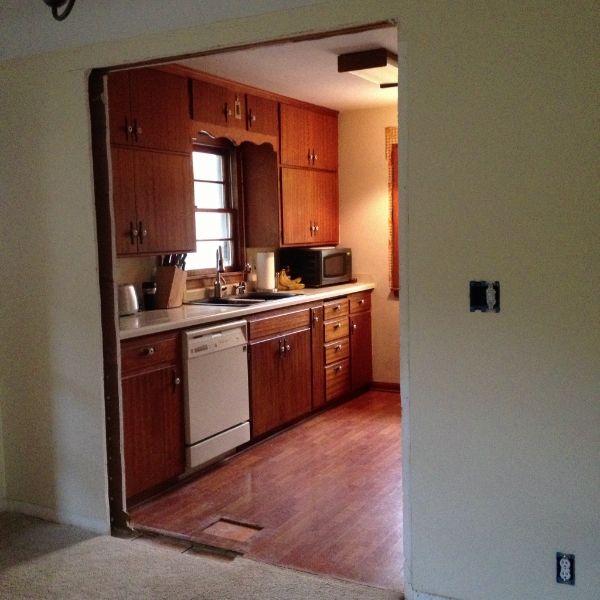
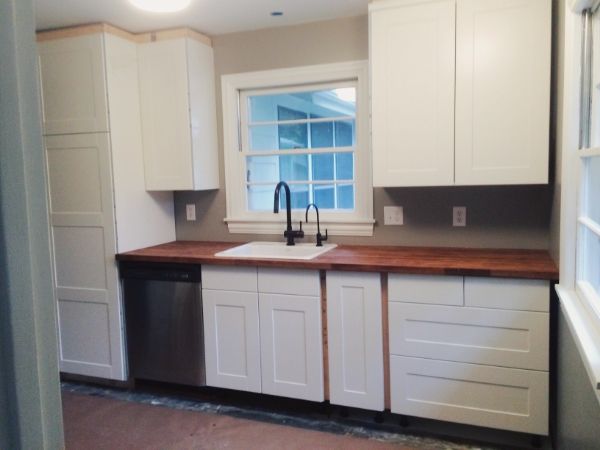
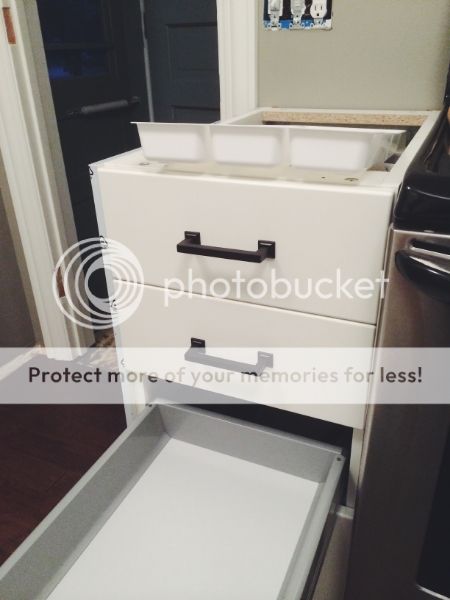
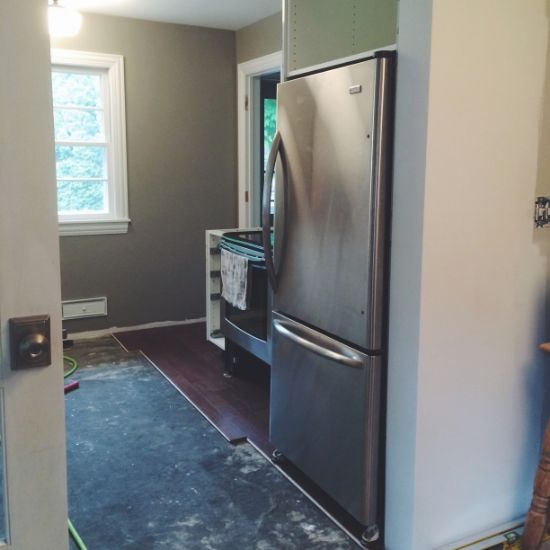
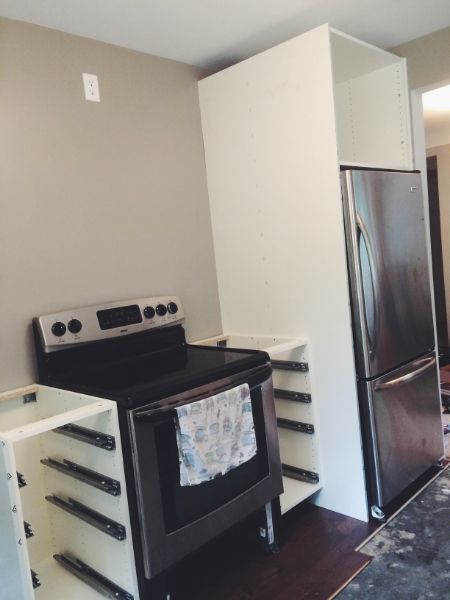
Kitchen before
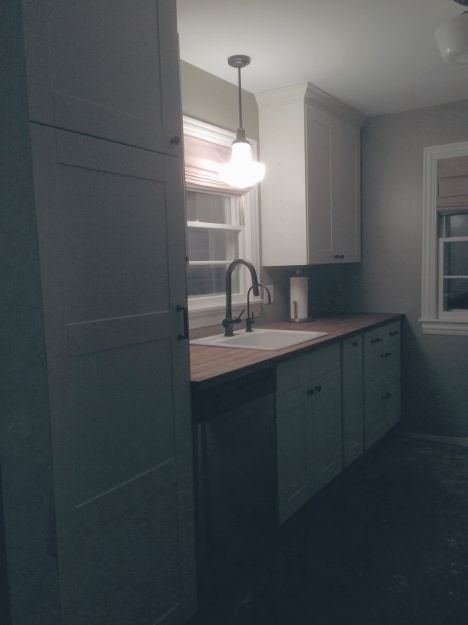
After with original plans and project like these, this, this, this, this and finally this
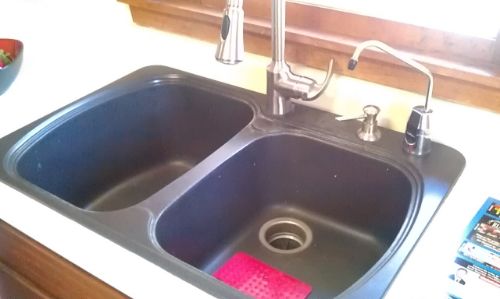
Paint is Benjamin Moore Rockport gray (missing a few cover panels)-knobs from here and pulls here-lights from Home Depot – rug from Target clearance and temporary (dishwasher was $60 craigslist score, faucets and sink were from discount online stores like the Amazon “used like new” section)
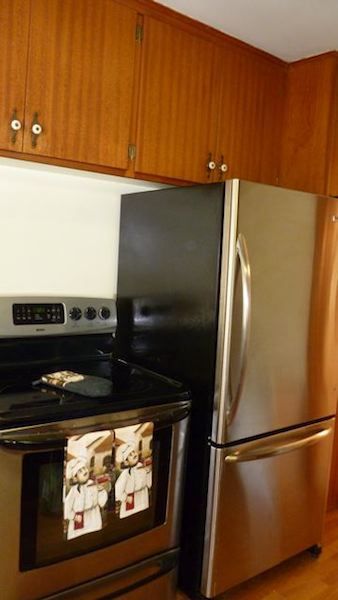
We already had the stove and refrigerator – great range hood for $199.99 from Rakuten
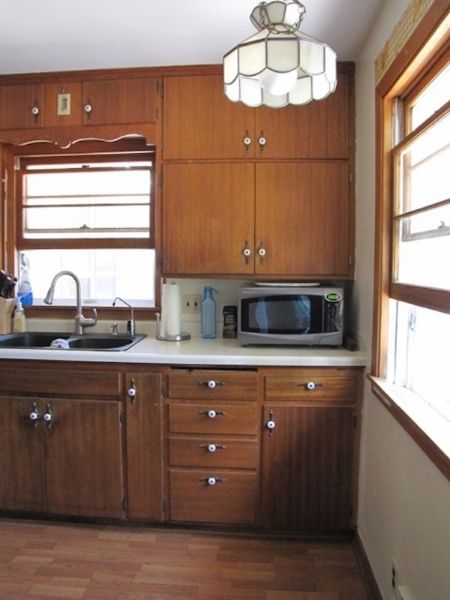
Ikea kitchen with some custom details (like molding from Menards, painted using Benjamin Moore color match technology to the Ikea Adel off-white color)- no more pocket door (we opened the doorway)
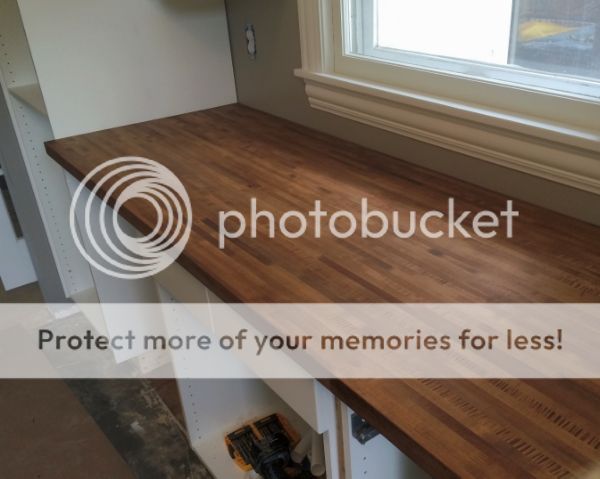
Butcher block counter from builder’s outlet store and flooring is Mohawk Rockingham solid coffee maple (when we bought it it was called Rockford…yeah both the paint and flooring were called Rockford)-blinds from JCPenney.
The kitchen was finished for about $4500 (Ikea cbinets were $2600 for our 9′ x 10′ galley kitchen)
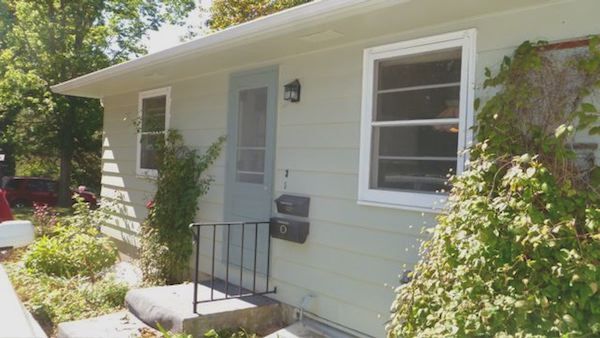
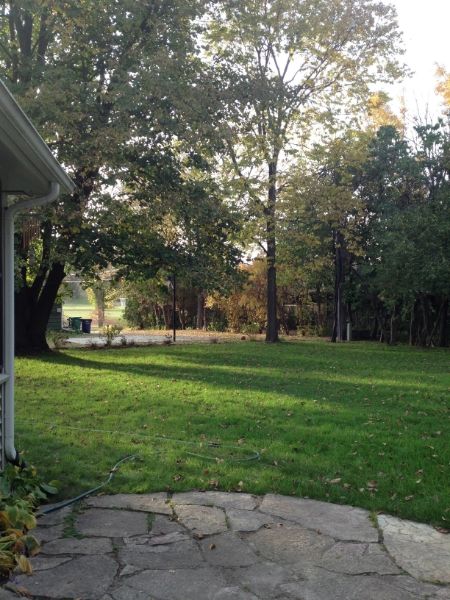
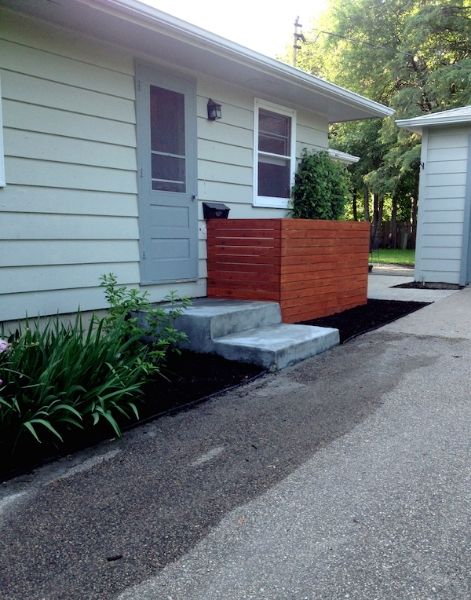
Outside before
After
DIY slat fence
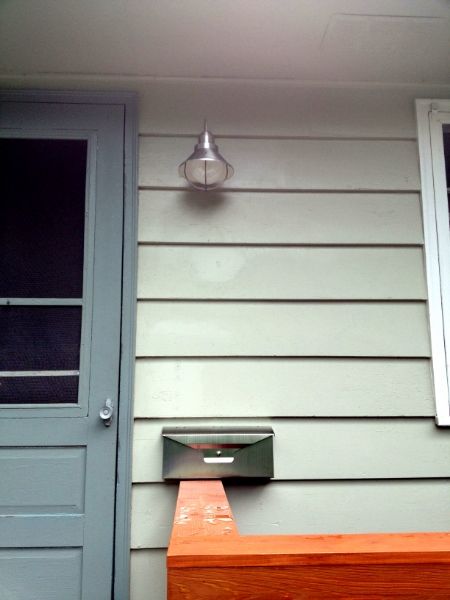
New exterior lights and mailbox from Amazon
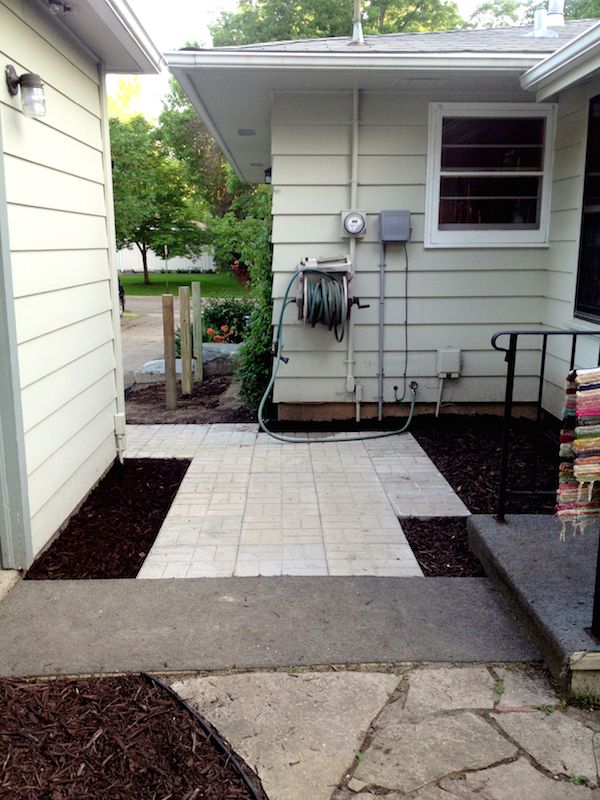
New breezeway patio
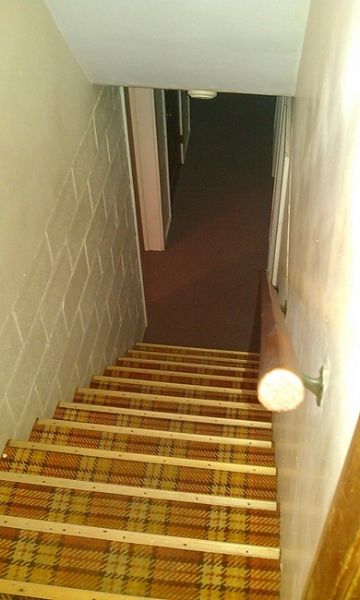
Stairs before
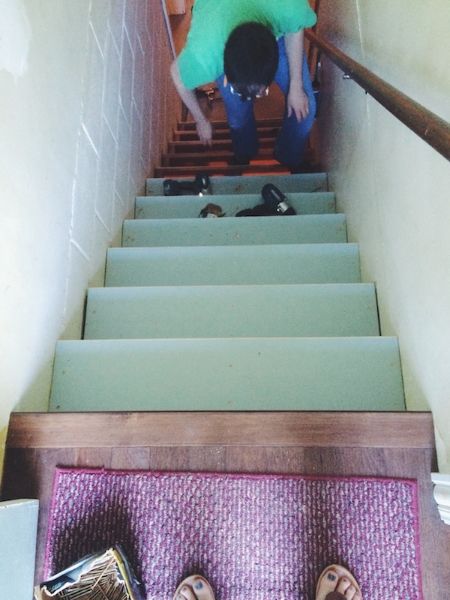
During (not finished)
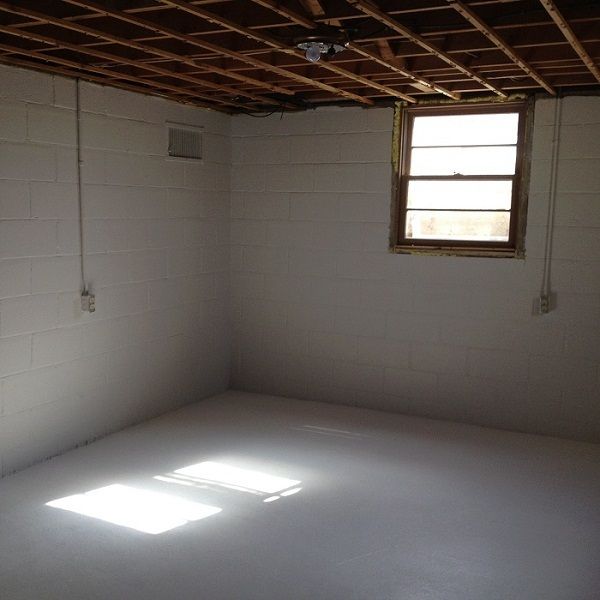
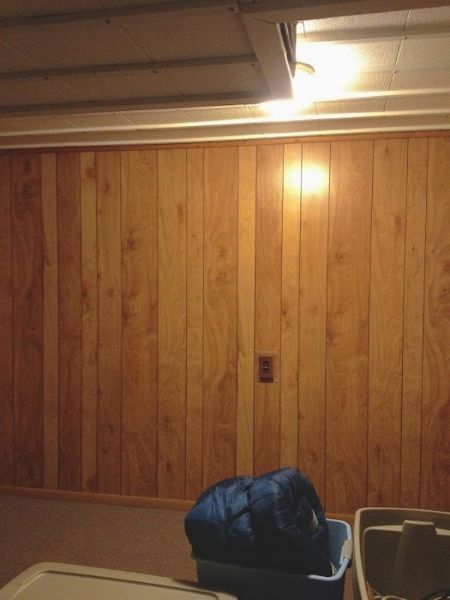
Basement bedroom 1 before (working on the reveal now)
During its “studio” phase (it was this for 2 years)
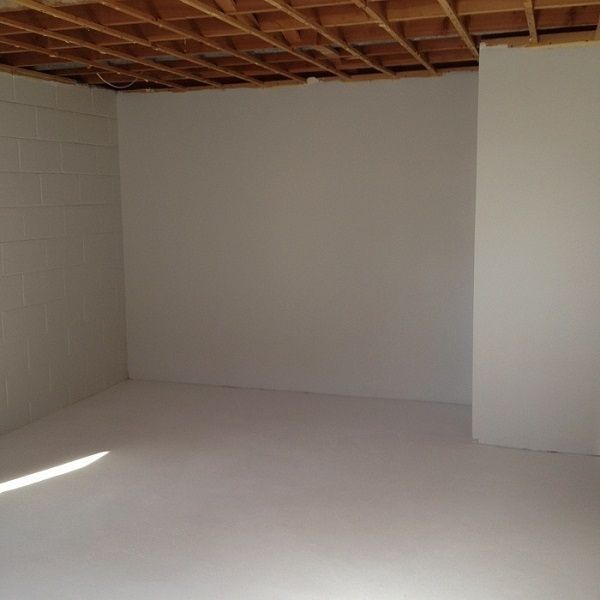
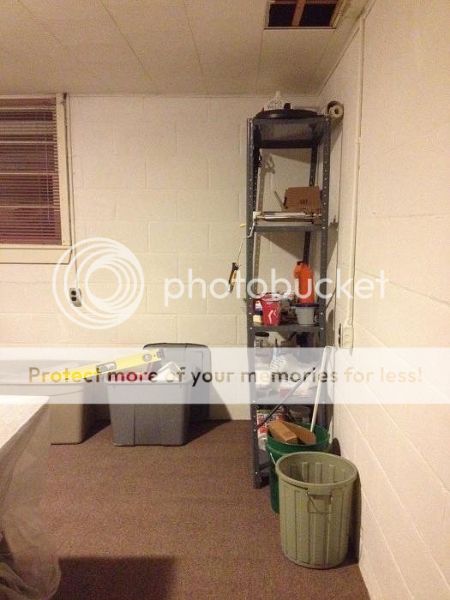
Basement bedroom 3 (or 2…now it’s open and going to be an entertainment room…reveal later)
Same room
Still the same room…they are big rooms downstairs
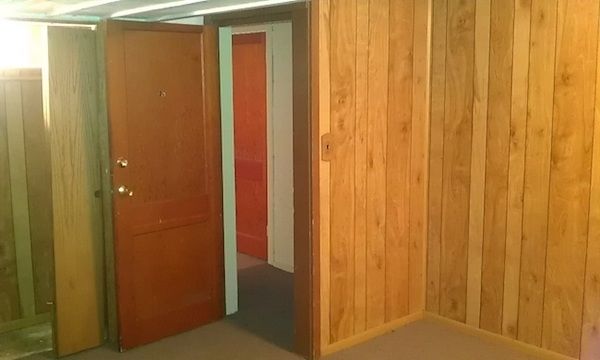
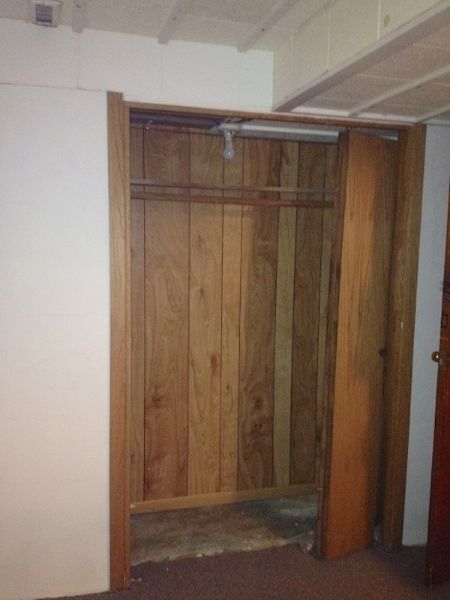
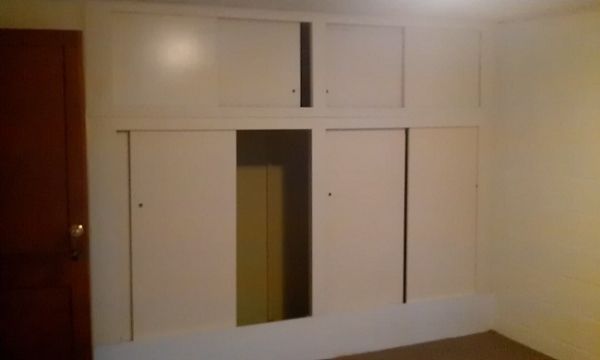
Potential basement bedroom 2 (or 3)
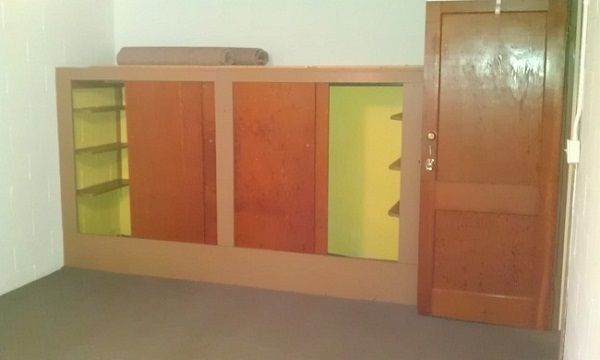
We used this as the furniture refurbishing room when we couldn’t use the garage.
Not shown or mentioned is the utility room which has had some updates, replacements (water heater and repaired water softener)
You’ll have to wait for the rest of the updates-hope to see you here then!