Finally a post about the basics. We’ve been meaning to get to this so voilà. Here are some helpful tools and tips from the Wits. A roughly written one at that. I started adding a bunch of notes which led to other thoughts. I just had to step away. By the way, we are not supported by any of the brands in the post…although that would be greatly appreciated since the brands in this post are our favorites. Just tossing that out there.
It is a matter of opinion. Everyone who refinishes furniture has their own way of doing things and supplies. This way comes from my best friend, woodworker, “wood engineer” husband who has taught me the basics of woodworking and refinishing furniture. Hope this helps.
*Greg and I would like to note that we do everything by hand (i.e. no power in our garage) so some of these tools are our choice when it comes to doing things the old-fashioned way…with some modern twists. Some are still convenient with or without power. When we obtain electricity and running water, it will change slightly (rocking our world) and then we’ll share a few of our favorite power tools.
Murphy’s Oil Soap: We add the recommended amount to about a quart of water and with a clean, lint-free rag, wrung til there’s very little water/soap on it, clean off every area of the piece-in the drawers, in the spaces people won’t see, everywhere. You never want to soak the wood because it causes swelling and issues with the finish down the road. Murphys gives it a nice smell too…especially to pieces found in a barn or kept for years in a garage or places with cats……
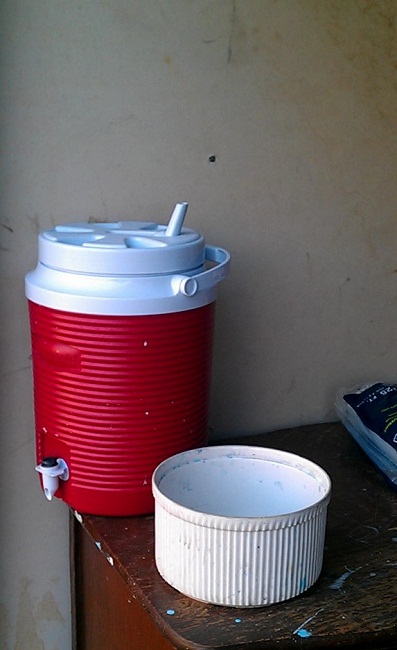
Large water cooler with water (if you don’t have water in your garage already-we’re barebones people) and a bowl of some sort-maybe even 2 or 3: This comes in handy when you’re washing the piece with the abovementioned Murphy’s or filled with water to put paint brushes in once you’re finished with a coat…then you have to take it up to your apartment/condo/townhouse to clean out the brushes. Oh wait, that could be just us on this part. (Come spring, we’re looking for a better set up.)
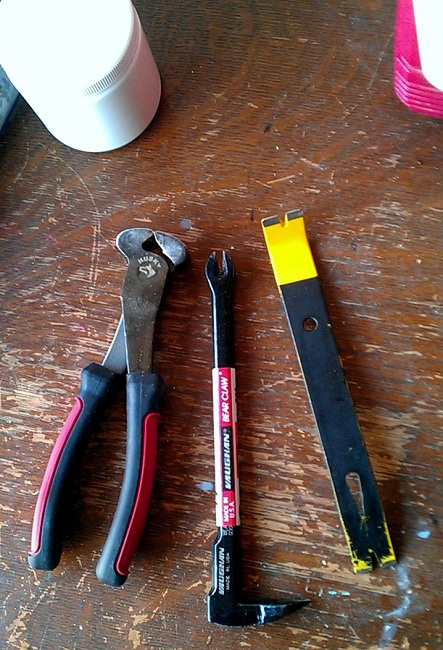
Prying devices (left to right-nail puller/cutter, mini “cat’s paw,” mini flat bar): The nail puller/cutter is handy if a nail is sticking out, the nail head is broken off or to cut the nail head off and pound the nail in if that would be easier (therefore filling that spot would be necessary unless you are going for that rustic look). We’ve used these to take unnecessary nails out-ones that serve no purpose and baffle us. The wide jaws help prevent damaging the wood any further on these antique pieces because you can rock the tool back and forth, loosening the nail. Use these when your hammer’s claw side doesn’t suffice. The “cat’s paw” pulls out nails that are embedded or crooked. You can actually dig into the wood using this tool along with a hammer. In this case, you would take the pointed end of the “cat’s paw,” placing it just at the head of the nail, and then hit the “cat’s paw” with the hammer, driving it under the nail’s head to ease the nail out. The flat bar helps separate components, say if you’re taking a dresser apart or you can take nails/tacks out with this tool as well. Hitting the flat bar with a hammer is necessary for taking pieces apart sometimes. So I guess we’re saying a hammer is necessary too (or a mallet).
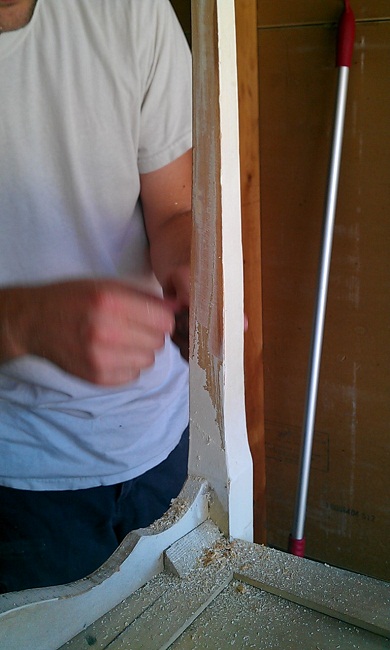
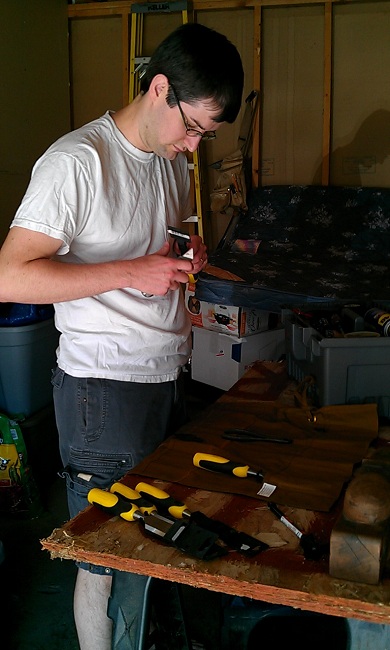
Cabinet scrapers: Used to smooth by scraping surfaces to remove sharp edges. These do require some finesse. These things work best, like many kitchen tools (says the food blogger), when sharp. We hesitate to note these because they aren’t for your average user but Greg has picked them up for several projects on the curves and round surfaces. The goal being to open the porous wood surface, through scraping and sanding, to remove the previous finish therefore making it more receptive to your primer/paint/stain/finish.
In a previous post, I discussed our preference for using a cabinet scraper in place of chemical paint removers. Not pictured or discussed at any length, Greg also uses hand planes on large surfaces such as dresser tops which also require some know-how and finesse. They come in handy when a surface has uneven damage or general warping due to its age and/or storage. Gee, now that I mention hand planes, I feel the need to say chisels.
Chisels are a step up from the putty knives I mention below when glue or stain is being stubborn and requires something sharper to remove either but again, those are tricky and not for the average user. Chisels help clean up dovetailed joints and splintered parts when you have to take apart a piece. Clean joints really help make the piece come together, making it sturdier and built to last another 100 years. Greg doesn’t want me touching very many things with these because there is a specific technique. (I’m seeing a video in the future.)
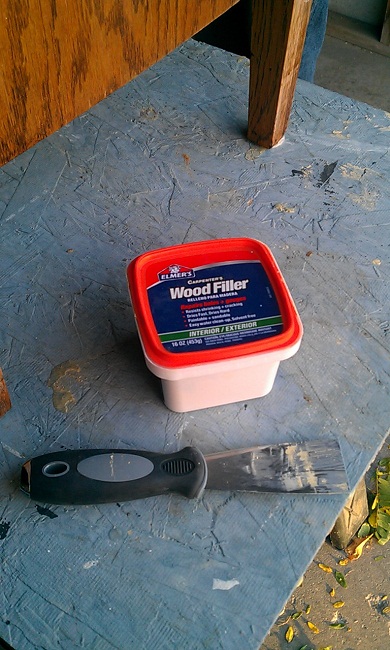
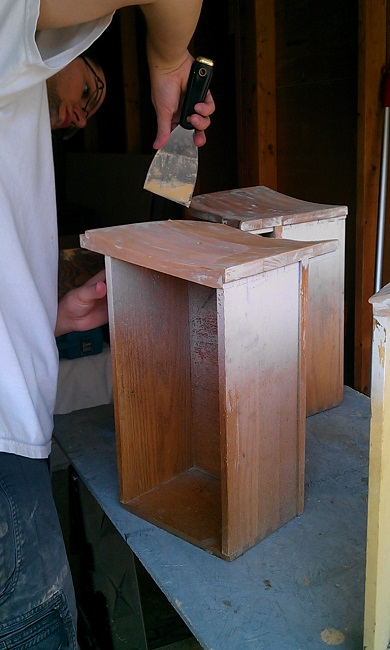
Wood filler: While this one is Elmers, there are many brands of wood putty (another name for it). So when I say fill, this is what I’m talking about. It’s good for filling dents, scratches, holes, coarse grain and pretty much any area that needs smoothed out with a putty knife. We joke that one day we’ll make an entire dresser out of filler….we’ve come close with some of the rough shaped dressers. Greg is picky particular about how the filler is applied so maybe a video is called for here too and I can sweet talk him into showing the step. He’s particular on many things- many, many things. This is one step I’m perfecting. A good practice is to wipe off all excess filler or it will cause more sanding work down the road and you’ll be cursing yourself. There’s a chance that excess filler will make weird marks that show through your finish and would require a lot more work to fix. (If you’d really like to know, Greg says the same goes for dry wall mud but that’s his time spent working for his family’s construction company coming out.) Generally, it takes 2 or 3 applications of the filler on the same spot (between sandings) until you get the desired smooth texture. The putty may need to be thinned out with a solvent (we use waterbased filler so we add water-check what kind you have for the corresponding solvent).
On another note, keep your putty knife clean and try not to run into nails or anything metal or you’ll ruin the edge and that’s no good for filling those blemishes. We have 3 putty knives-one that I use to scrape glue or old stain off, another more flexible one that is used strictly for filling and the larger one for larger areas which we rarely use at this point since the top of the dressers we buy don’t have much damage. (One example of a place you could use this larger putty knife.) Having a flexible knife-probably not the cheapest one at the store-helps smooth the putty out a little better. You’ll have to trust us on this and I am really considering getting Greg to show a proper filler technique soon.
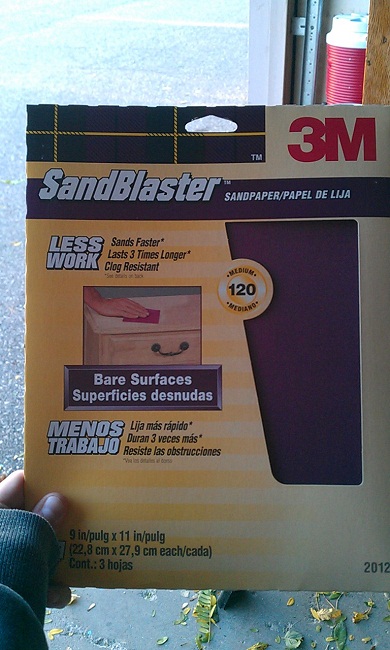
Hand sander and sanding sponge: The one in the picture is used to do drywall but we find it helpful when we sand large surfaces. (Then go over all parts with sand paper by hand later.) Only use this drywall hand sander for your initial sanding (around 80-150 grit) and then go to a higher grit (220-320) for in-between coats to not ruin your finish. The lower the grit number, more abrasive particles are present so the higher the grit number, fewer abrasive particles. (Woodworking quality steel wool and even pantyhose have made their way to the final portions of projects for a more delicate way to “sand.”)
We find that it’s cheaper and quicker for those of us who don’t have power for an orbital sander (which will be on our later list for a power-filled garage) to use these straight away on a piece you’ve picked up. It’s cost efficient to buy the larger sheets of sand paper that usually come in packs of 3 to 5, cut each of them into 3 and place them on the drywall hand sander. This gives you more pieces to work with which is cheaper than buying the pre-cut sheets or sanding sponges.
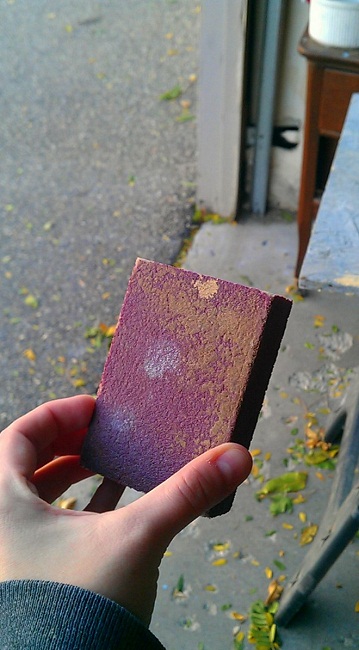
Sanding sponges are great for in-between coats (again 220-320) and later sanding stages. But now that I’ve said that, we choose to just fold a sheet and do it by hand because it’s cheaper and we prefer this so that we can bend the paper to do the curvy portions. There is a point where you have to toss sand paper and the sponges or you’ll risk doing more harm than good with any grit.
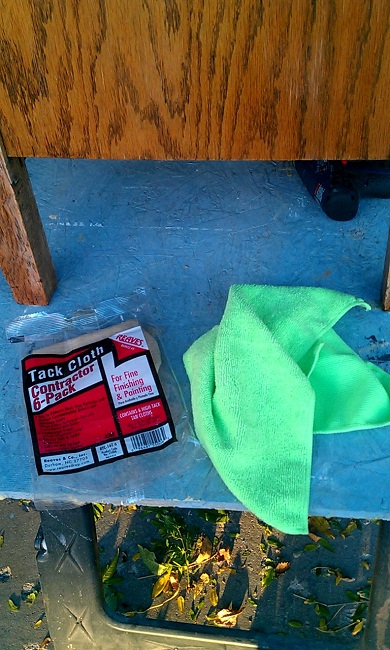
Tack cloths and microfiber cloths: When we started, we used tack cloths to pick up debris and other particles on the surface before painting or priming a piece. However, due to their highly sticky nature, we’ve decided to avoid using these if we can. At times, they left a residue on the surface that could make an impact on the finish. Instead, we use the microfiber cloths you find in the automotive section of the store. They help remove the dust…because you can’t totally eliminate particles that will land in your paint/finish without having a high dollar finishing system…we don’t even have power, have I said that yet? We try very hard to remove what we can at every step of the finishing process. This is why we’re seeking a new workspace in the spring. Once we get to the painting/staining portion, every other project must be put on hold so particles do not get in the air and the finish. A cleaning of the garage is done as well for every project. This can be avoided by having designated spaces but we’re not there yet.
We’ll share some of our paint supplies and tools later. If you have any questions, let us know. If you refinish furniture, what are some of your “go to” materials and techniques?

